Hardwood floors add warmth, character, and long-term value to a home, but even the best-maintained floors eventually pick up scratches. Moving furniture, pet nails, shoes, and everyday traffic can all leave marks that make floors look worn before their time. The good news is that many scratches can be repaired without replacing the floor or committing to a complete refinish.

This guide explains how to repair scratches in hardwood floors step by step. You will learn how to identify the type of scratch you are dealing with, which repair methods work best, and when professional help is the smarter option.
Understanding the Different Types of Hardwood Floor Scratches
Before attempting any repair, it is essential to determine the depth of the scratch. Different levels of damage require different solutions.
Surface-Level Scratches (Finish Only)
These are light scratches that affect only the protective finish, not the wood itself. They often appear as faint white or dull lines and usually do not catch your fingernail when you run it across the surface. These are the easiest scratches to repair and often respond well to simple cleaning and buffing.
Medium Scratches (Through the Finish, Into the Wood)
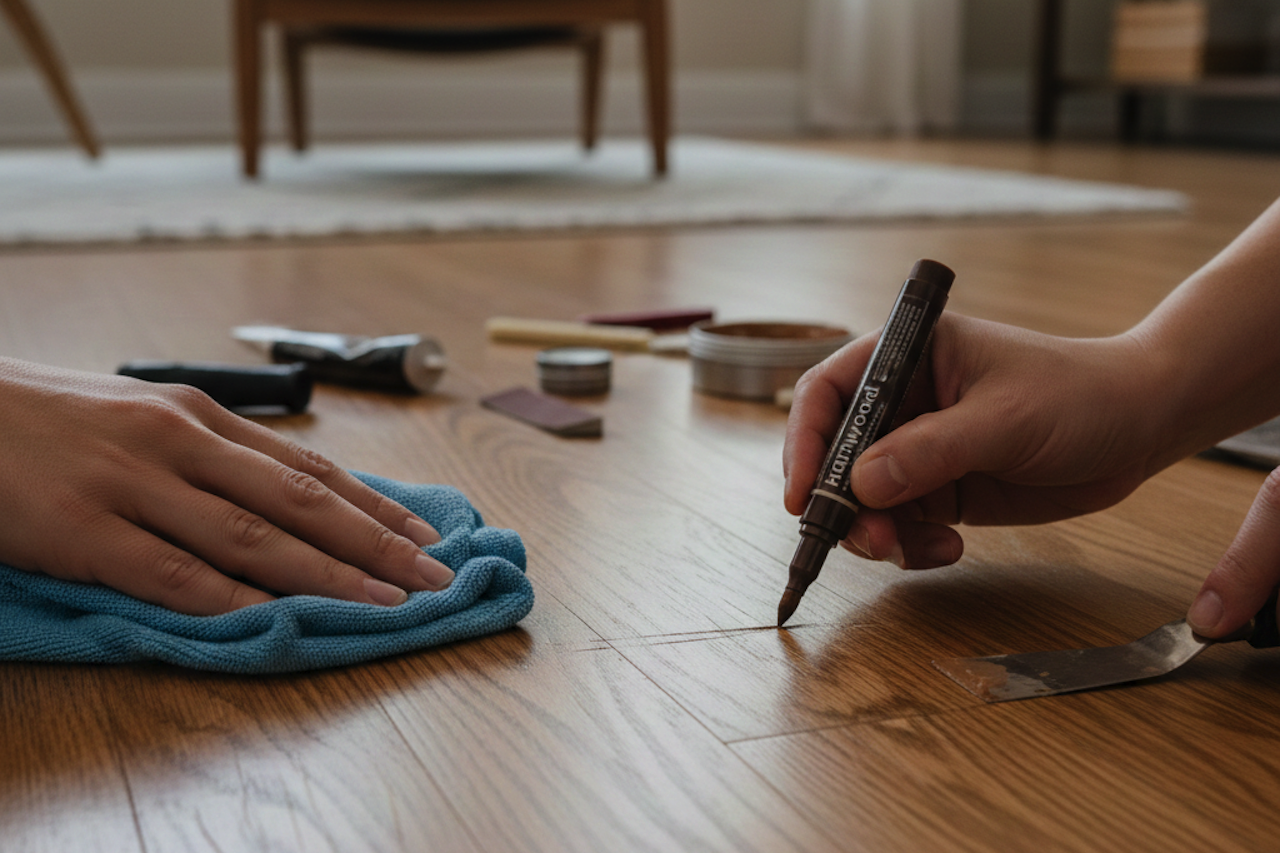
Medium scratches penetrate the finish and slightly mark the wood beneath. You can usually feel them with a fingernail, and they may appear darker or lighter than the surrounding floor. These scratches require targeted repair products, such as wax sticks or stain markers.
Deep Scratches and Gouges
Deep scratches cut through the finish and well into the wood. Raw wood may be visible, and the damaged area may be uneven. These repairs often involve filling, sanding, and refinishing, and in some cases are best handled by professionals.
Tools and Materials You May Need
Having the right materials on hand makes repairs more effective and less noticeable. Depending on the scratch depth, you may need:
- Wood-safe floor cleaner and microfiber cloths
- Hardwood floor repair markers or stain pens
- Wax sticks or crayons matched to your floor color
- Wood filler for more serious damage
- Fine-grit sandpaper or buffing pads
- Clear sealant or finish touch-up product
Always test any product in an inconspicuous area first to ensure compatibility of color and finish.
How to Repair Light Surface Scratches
Cleaning and Buffing the Area
Start by thoroughly cleaning the scratched area with a hardwood-safe cleaner. Dirt and residue can exaggerate scratches, and cleaning alone may significantly reduce their visibility. Once clean, buff the area gently with a soft cloth to restore some shine.
Using Repair Markers or Polishes
For scratches that remain visible, apply a hardwood floor repair marker or polish that closely matches the floor color. Follow the grain of the wood, then wipe away excess product. These markers help blend surface scratches into the surrounding finish.
How to Fix Medium Hardwood Floor Scratches
Applying Wax Sticks or Fill Crayons
Wax sticks are ideal for medium scratches. After cleaning the area, rub the wax into the scratch, working with the grain. Use a plastic scraper or soft cloth to remove excess wax and level the surface. The goal is to fill the scratch without leaving a raised area.
Buffing and Sealing the Repair
Once the wax is in place, lightly buff the area and, if recommended by the product manufacturer, apply a thin layer of finish or sealant. This helps protect the repair and blend it with the rest of the floor.
How to Repair Deep Scratches in Hardwood Floors
Filling and Leveling the Damage
For deep scratches or gouges, wood filler is often necessary. Apply filler that matches your floor color, press it firmly into the damaged area, and allow it to dry completely according to the manufacturer’s instructions.
Light Sanding and Refinishing
After the filler dries, lightly sand the area with fine-grit sandpaper until it is level with the surrounding floor. Clean away dust and apply a compatible finish to seal the repair. Blending the sheen and color can be challenging, which is why deep scratches often benefit from professional attention.
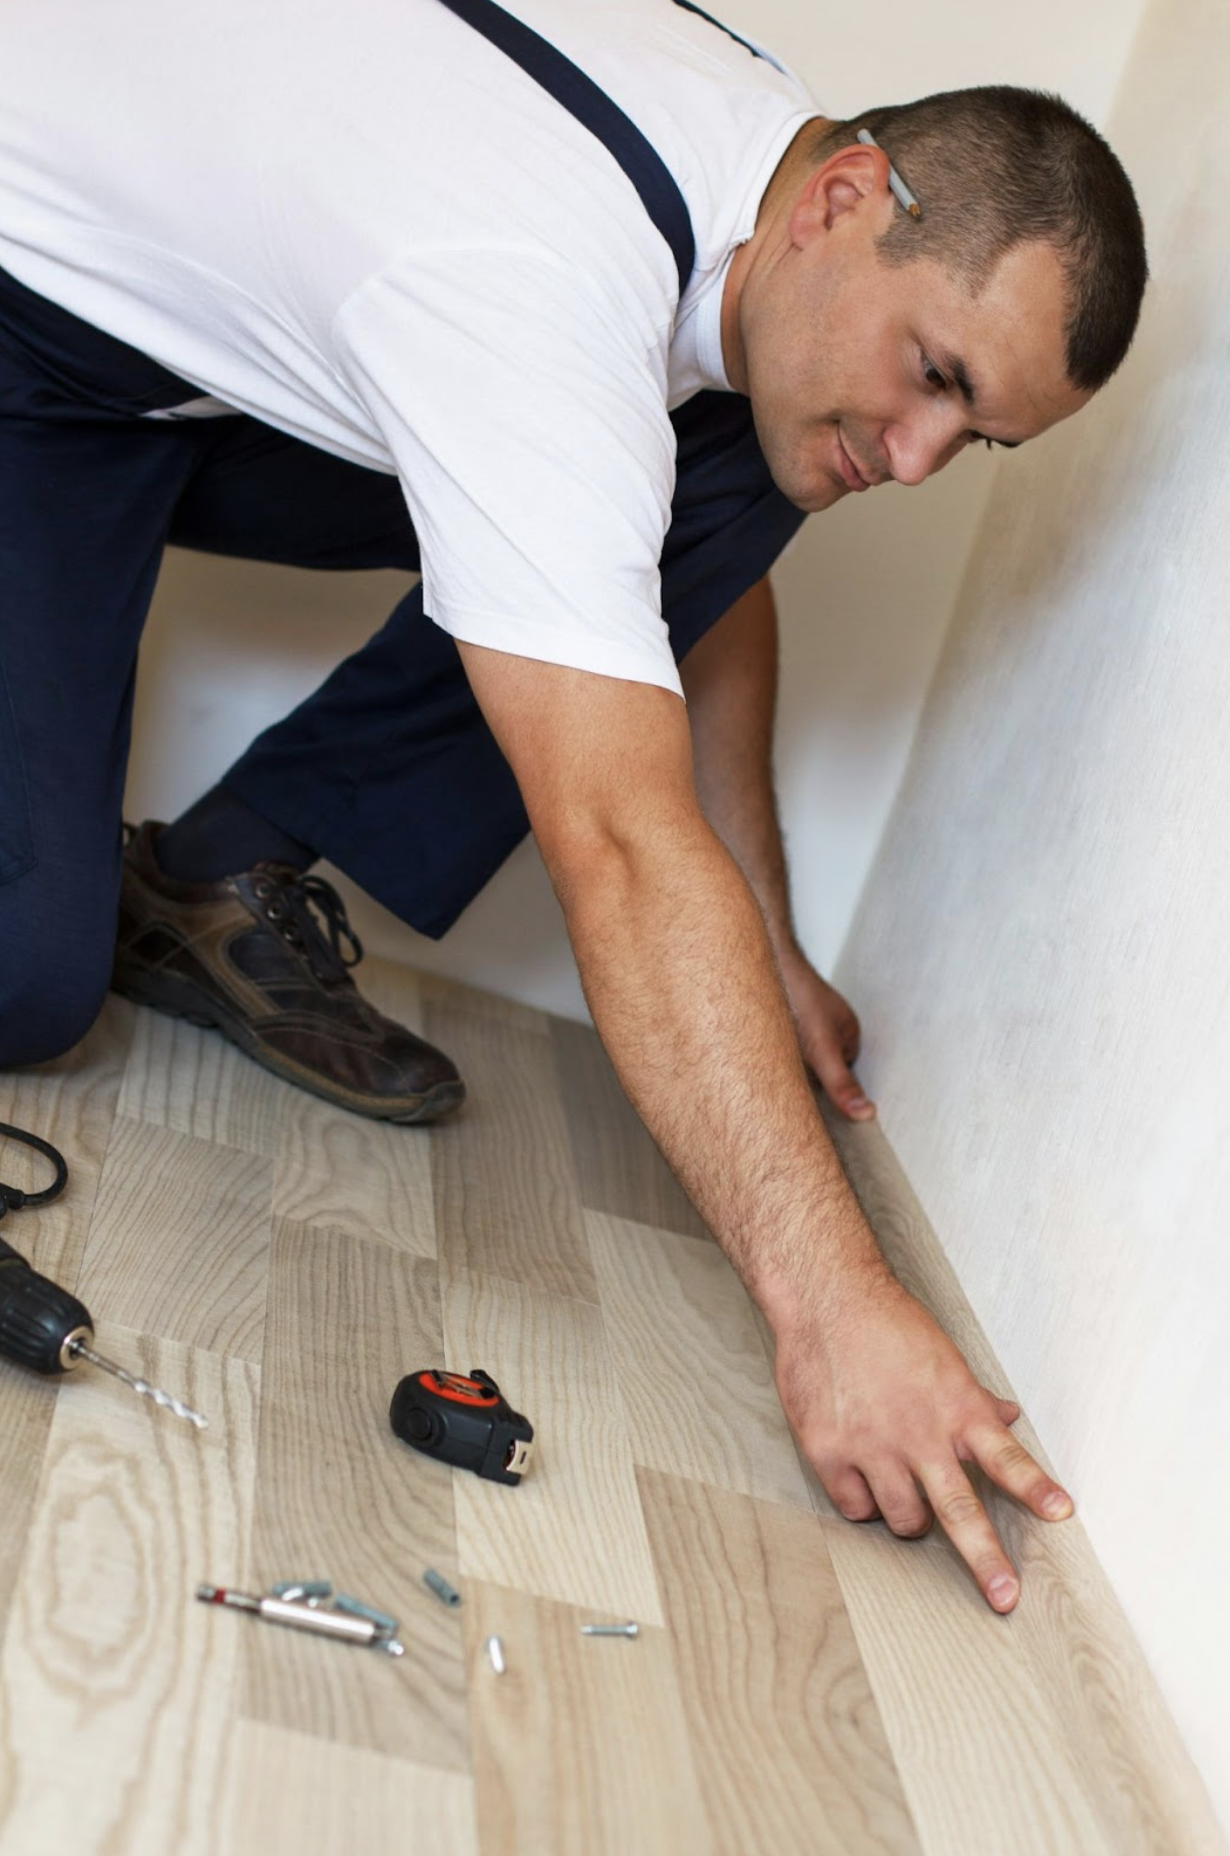
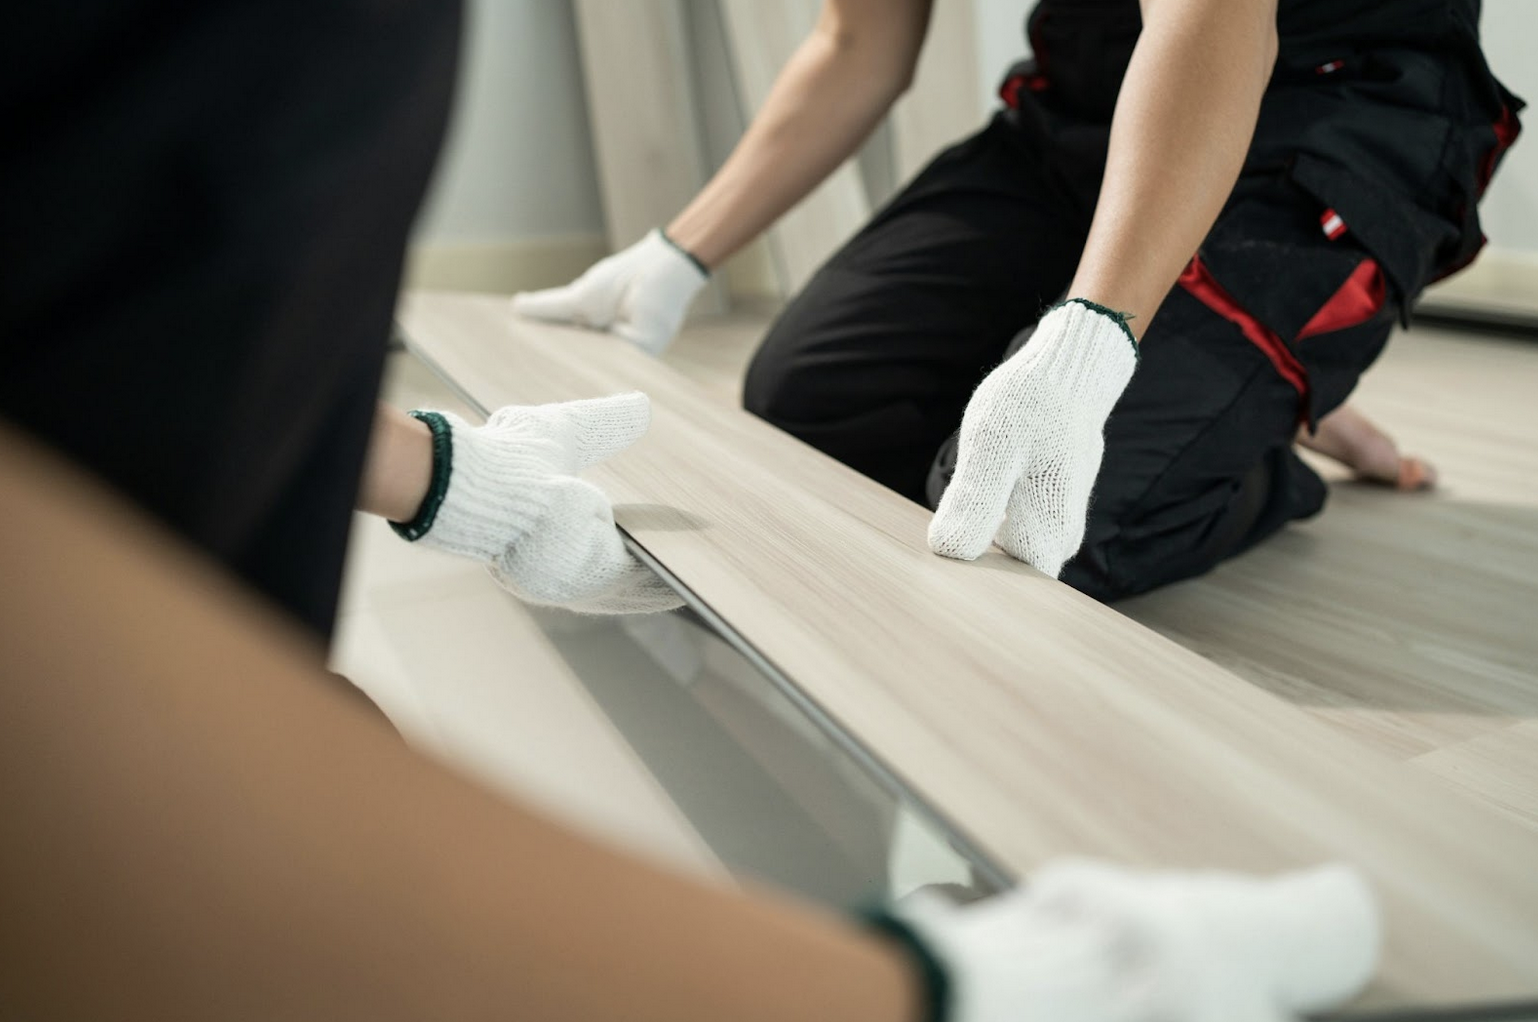
DIY vs Professional Repair: Knowing When to Call an Expert
DIY repairs work well for isolated or shallow scratches, but there are situations where professional help makes more sense. Widespread scratching, uneven wear, or multiple deep gouges may indicate that refinishing or partial replacement is needed.
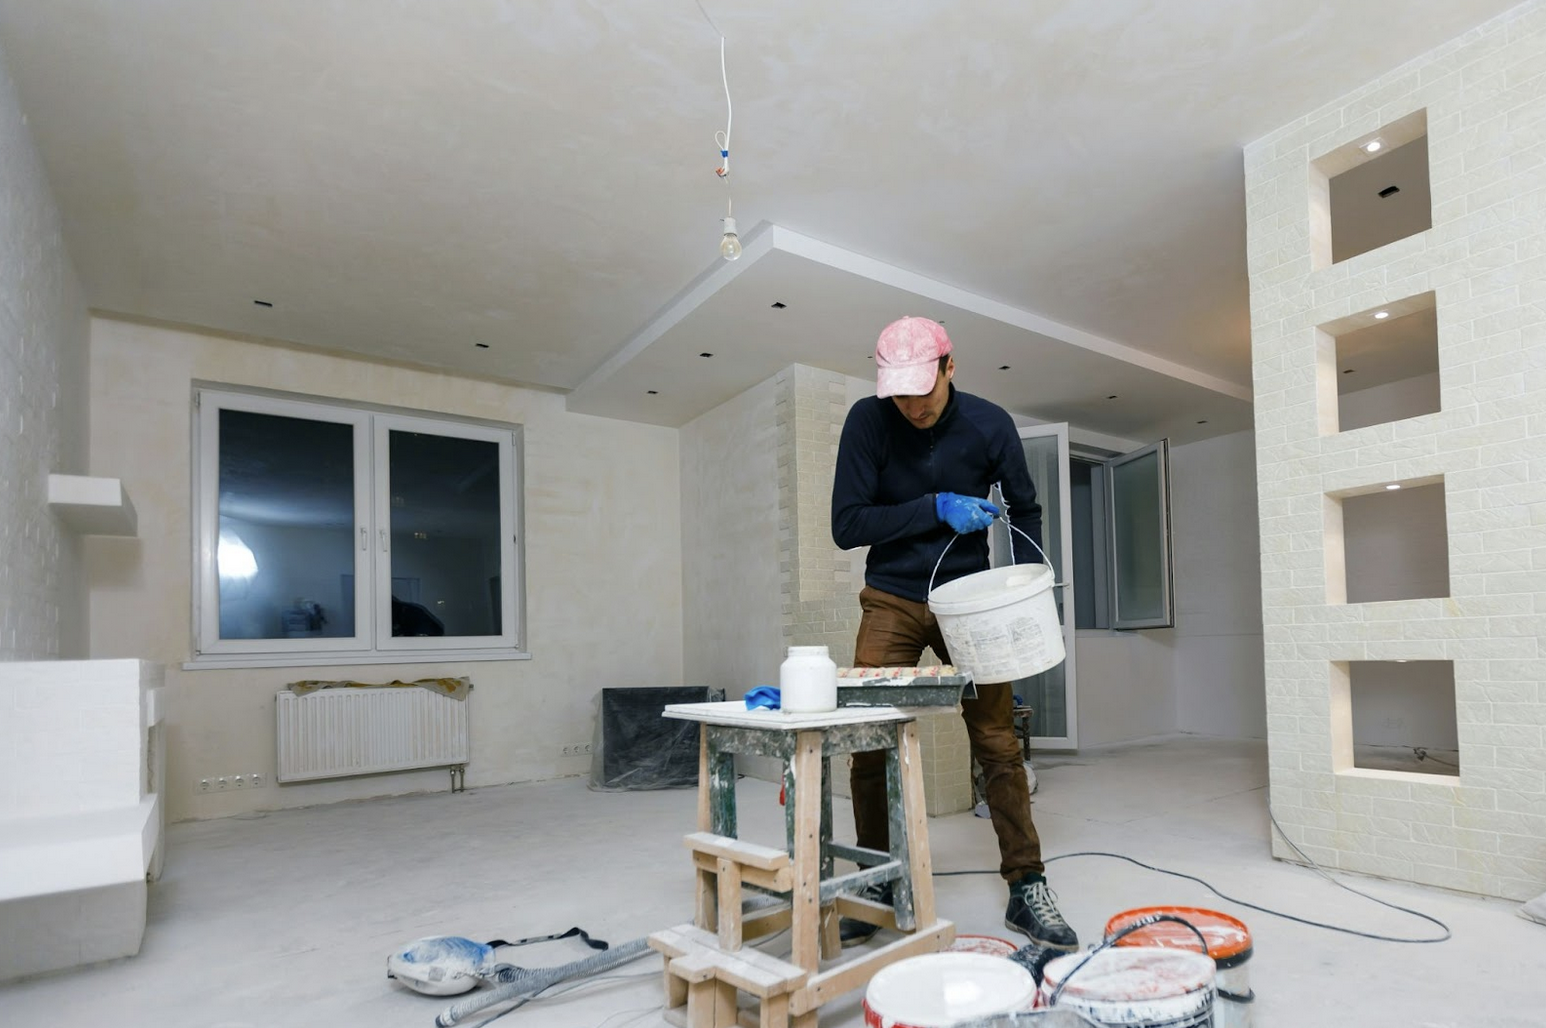
Homeowners in this situation often consult flooring specialists, such as Best Floor Coverings, to determine whether repair, refinishing, or replacement is the most cost-effective long-term solution. Professional assessments can prevent mismatched finishes and costly mistakes.
Preventing Future Hardwood Floor Scratches
Furniture Pads, Rugs, and Entryway Mats
Attach felt pads to furniture legs and use rugs in high-traffic areas. Entryway mats help trap dirt and grit that can scratch floors.
Pet Nail Maintenance and Shoe Habits
Keeping pet nails trimmed and limiting shoes indoors can significantly reduce surface damage over time.
Routine Cleaning and Floor Care
Regular sweeping or vacuuming removes abrasive debris. Avoid harsh cleaners or excess water, which can damage finishes and wood fibers.
When Floor Scratches Are Part of a Bigger Home Update
Scratched floors often appear alongside scuffed baseboards, worn trim, or faded walls. When refreshing an entire room or home, coordinating floor repairs with interior painting can create a more cohesive result.
In these cases, homeowners sometimes work with painting professionals, such as Cover Pro Painting, to address walls, trim, and finishes while flooring repairs are underway, ensuring the space looks consistent and fully updated when the project is complete.
Final Thoughts
Repairing hardwood floor scratches starts with understanding the depth of the damage and choosing the appropriate repair method. Light scratches can often be fixed quickly with simple products, while more serious damage may require more involved repairs or professional help.
With proper care, timely repairs, and preventative maintenance, hardwood floors can maintain their beauty and durability for decades, even in busy homes.
Featured Image generated by Google Gemini.
Share this post
Author

Read the latest articles from Faviola Publico
Real Estate SEO: How Agents Generate Leads Through Organic Search and Digital Strategy

March 7, 2026
The real estate industry has become increasingly digital. Most buyers and sellers now begin their property search online, researching neighborhoods, comparing listings, and evaluating agents before ever scheduling a showing. Because of this shift, real estate SEO has become one of the most important marketing str [...]
Learn moreHow Long Does a Roof Last? A Homeowner Guide to Roof Lifespan, Remodeling, and Replacement Planning

January 28, 2026
A roof is one of the most critical components of any home, yet many homeowners are unsure how long their roof is actually supposed to last. While manufacturer warranties often advertise long timeframes, real-world roof lifespans depend on more than a number on paper.
Learn moreLeave a comment
All comments are moderated. Spammy and bot submitted comments are deleted. Please submit the comments that are helpful to others, and we'll approve your comments. A comment that includes outbound link will only be approved if the content is relevant to the topic, and has some value to our readers.
Comments (0)
No comment