
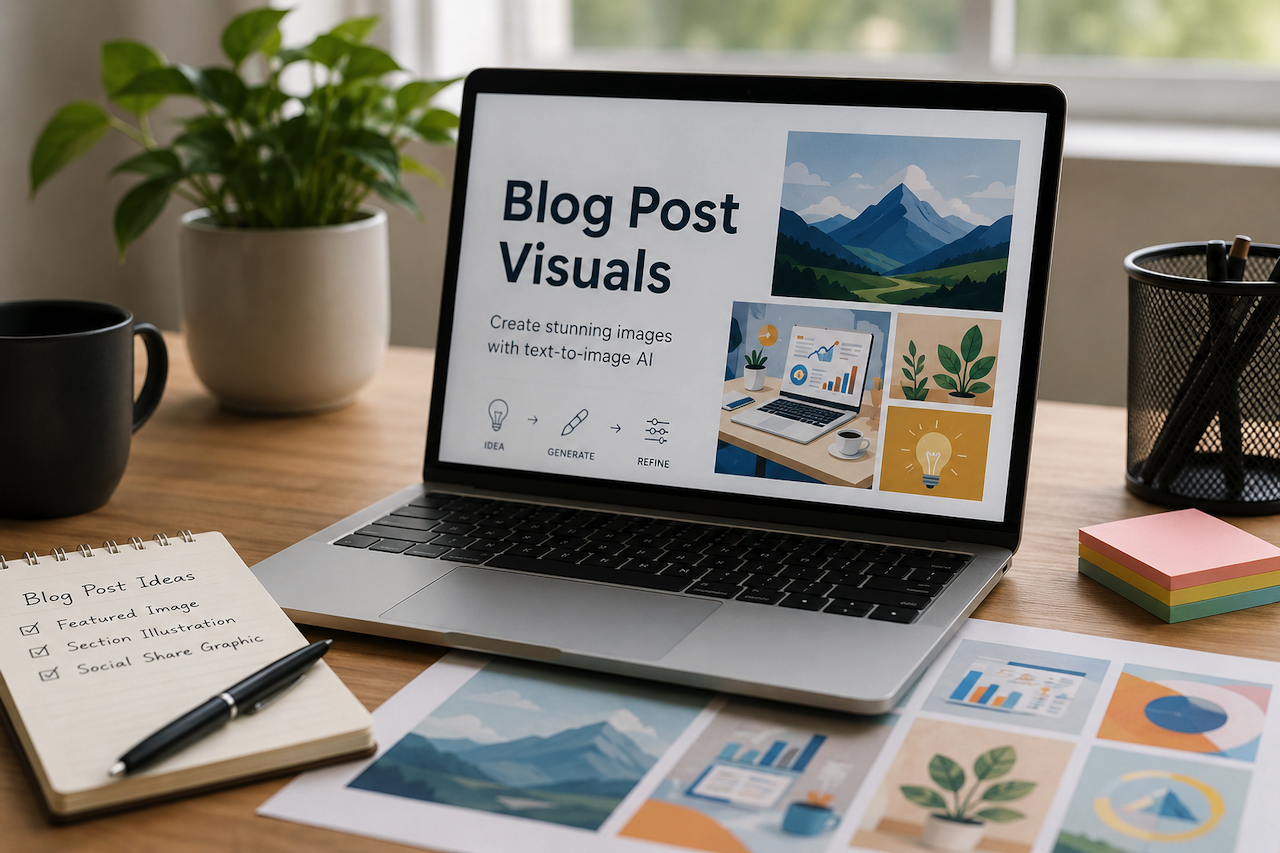
Publishing a strong blog post already takes enough time. After the research, writing, editing, and formatting, you still need visuals that fit the piece. That’s often where the process slows down. Stock photos can feel generic, custom design can take days, and even a simple header image may turn into a long review cycle.
For content teams, solo bloggers, and marketers, that delay adds up quickly. One article may need a featured image, several in-article graphics, and a social media visual. Instead of moving the entire workflow into a full design suite, AI image generation tools can help streamline the process by turning article ideas into original visuals, testing concepts quickly, and refining results as needed. For example, Media.io's AI image tool is one of many platforms that can be used to generate blog visuals from text prompts.

What You Can Create for Blog Posts With Text-to-Image
Here, text-to-image refers to turning an article topic, outline, or visual idea into a custom graphic using a prompt. You describe what you need based on the article’s subject, audience, and tone, then generate image options you can actually use in your publishing workflow.
That matters because blog visuals tend to work better when they match the page. An image built around “remote onboarding checklist for startups” is usually a better fit than a generic office stock photo. It also helps you move from draft to publish-ready content with less waiting.
The goal is not a perfect manual design on the first try. The practical value is speed: generate a direction, review it, and refine from there.
Common Use Cases for Blog Visuals
Use Case 1: Featured Images for New Posts
Featured images shape the first impression of a post. If the header feels generic, the article can look less considered before the reader gets to the first paragraph.
With text-to-image, you can describe the topic, mood, and composition you want instead of digging through image libraries. For example, a blogger covering sustainable packaging could create a clean, editorial-style header featuring eco-friendly product details and soft, natural lighting.
Aspect ratio also matters. Many blogs use wide banner placements for headers, so choosing the right format early can save time on cropping later. The result is a post thumbnail that feels more relevant to the article itself.
Use Case 2: Section Illustrations for Long-Form Articles
Long-form articles can become visually heavy, even when the writing is clear. Supporting images help break up dense sections and make the page easier to scan.
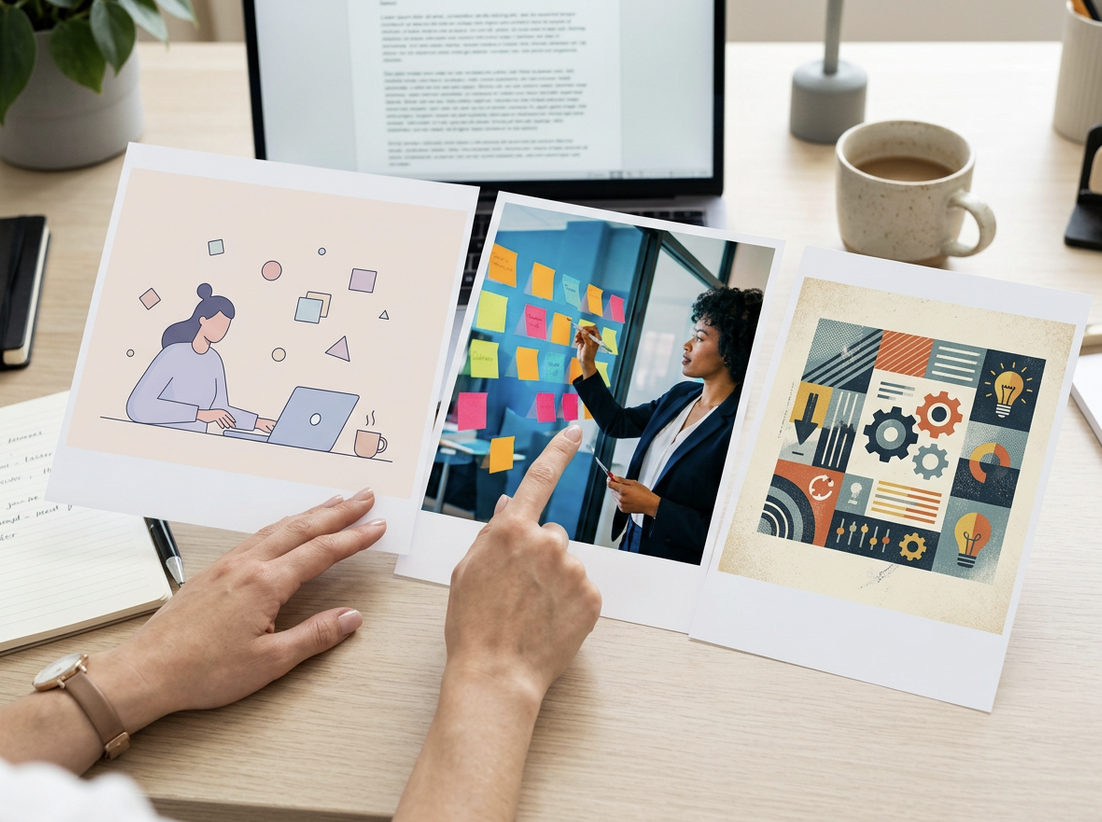
Text-to-image can help you create section-specific visuals without opening a separate design workflow. That might be a concept illustration for a workflow section or a stylized scene that supports a case study. The point is not decoration for its own sake. It is better packaging for the content.
Many AI image generation tools offer style presets and template libraries that can help maintain a consistent visual direction across blog content. That gives you a faster starting point and keeps the page looking more organized.
Step-by-Step Guide: Using Text-to-Image for Blog Visuals
If you already have an article topic, keyword target, or section idea, the workflow is fairly simple. The quality of the prompt still matters, but the process itself is easy to follow.
Step 1. Define the Purpose of the Image
Before writing a prompt, decide what the image is meant to do: serve as a blog header, support a section, or work as a promotional graphic.
A useful prompt usually covers four things: subject, context, mood, and placement. For example: “Editorial-style featured image for a blog post about email marketing automation, laptop dashboard, clean workspace, professional blue tone, wide header composition.” That gives the AI more direction than a broad prompt like “modern business image.” Platforms such as Media.io allow users to experiment with prompts and compare generated image variations.
Generating multiple variations early can make it easier to compare concepts before settling on a final direction.
Step 2. Describe the Visual and Select Your Settings
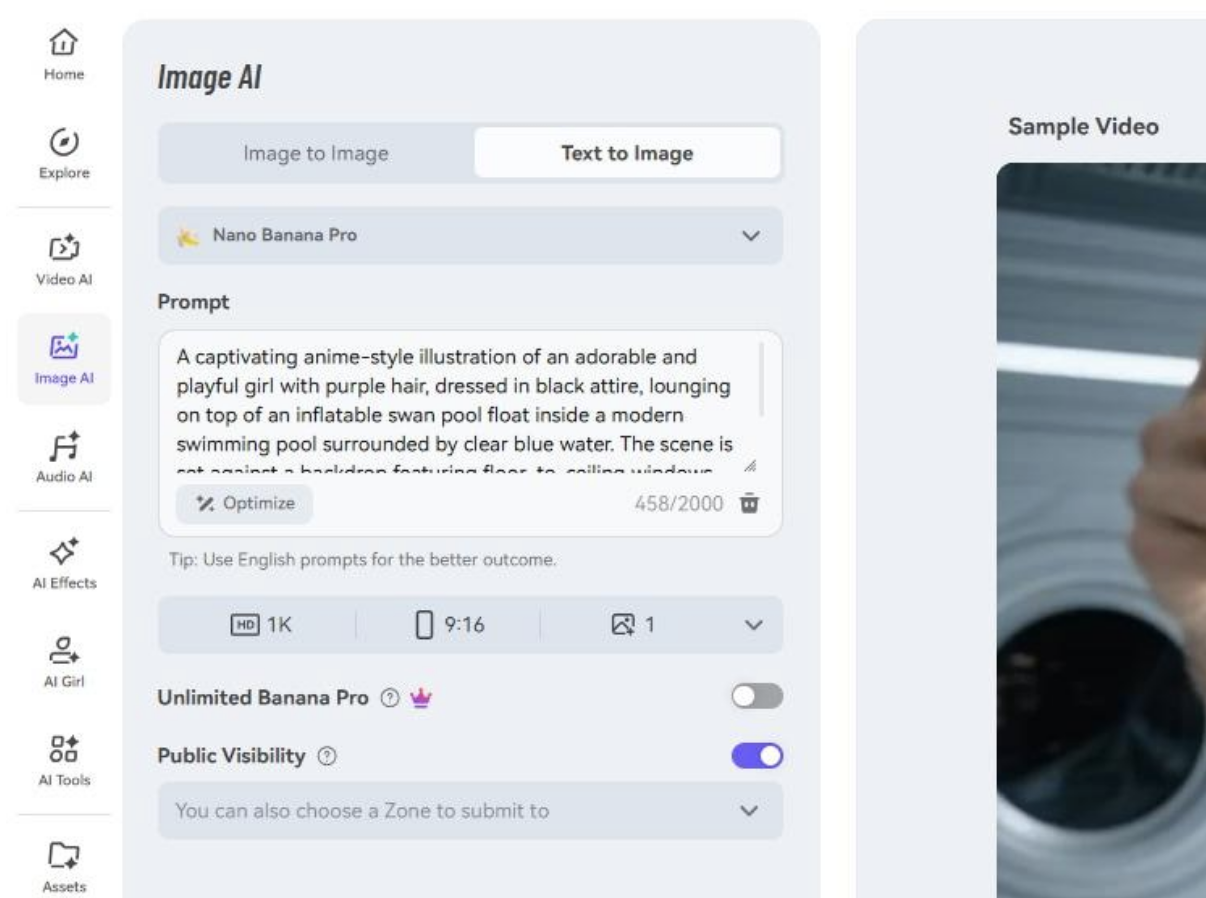
After entering your prompt, choose the style, aspect ratio, and output resolution that best fit the intended use case.
Many AI image generation platforms offer features such as style presets, templates, and output controls.
The main decision here is practical: choose settings based on where the image will appear and how it will be used.
Step 3. Generate, Review, and Refine the Result
Generate the image and compare the outputs. Then check whether the result actually supports the article or is simply interesting on its own.
If the composition is too vague, refine the prompt and generate additional versions. If the style does not fit the brand or article category, experiment with different settings, models, or visual directions. Many platforms also allow further editing, enhancement, or upscaling after generation.
Once you have a strong version, place it into the draft and review it alongside the headline and page layout. That final review helps identify any visual mismatches before publication.
Tips for Getting Better Results
The best prompts are specific enough to be useful. For blog visuals, that usually means including:
- The main subject
- The article context
- The visual tone
- The intended placement
So instead of “marketing image,” try something like: “Clean flat-style illustration for a blog section about SEO reporting, dashboard charts, neutral background, professional tone, horizontal layout.”
A few habits also make the workflow smoother:
- Keep a consistent visual direction for recurring blog categories.
- Test multiple styles early, rather than trying to perfect the first output.
- Decide the article angle first. This works best when you already know the audience and what the image needs to communicate.
Common Mistakes to Avoid
A common mistake is using prompts that are too broad. That often leads to visuals that feel only loosely connected to the article.
Another issue is choosing the wrong aspect ratio. If you create a square image for a wide blog header, you will likely end up cropping it extra later.
It also helps to keep expectations realistic. Results still depend heavily on the quality of the prompt, the complexity of the requested image, and the capabilities of the AI model being used. Generating multiple variations and refining prompts is often part of the process when creating visuals that closely match the intended concept.
Final Thoughts
For bloggers, the value of text-to-image is straightforward: it helps turn an article idea into a usable visual faster than searching for stock images or a fully manual design process.
Many AI image generation platforms combine image models, style presets, aspect ratio controls, and editing tools in a single browser-based workspace. These features can help streamline the process of creating and refining blog visuals.
In practice, many content creators generate several visual concepts for the same article before selecting and refining the option that best supports the content and audience.
 FAQs
FAQs
Yes. You do not need advanced design experience to describe a concept, choose a style, and generate a usable starting image.
Detailed enough to cover the subject, context, tone, and placement. It does not need to be long, but vague prompts often produce less relevant results.
Yes. Testing multiple concepts early is often more effective than trying to perfect a single version from the start. Comparing different visual directions can help identify the strongest fit for the content.
Yes. They can also be used to create in-article illustrations, section graphics, social media visuals, concept artwork, and other supporting content assets.
Featured Image generated by ChatGPT.
Share this post
Author

Read the latest articles from Shahid Latif
Why a VPN App on Android Isn't the Same Product as Its Desktop Version

May 28, 2026
Two installations of the same VPN brand can behave differently depending on the underlying operating system. The marketing pages rarely make this clear. A user who reads a Windows review and installs the same provider on a Pixel 8 may end up with fewer protocols, a weaker kill switch, and a battery profile that t [...]
Learn moreCan You Create AI Subtitles on Your Phone?
May 22, 2026
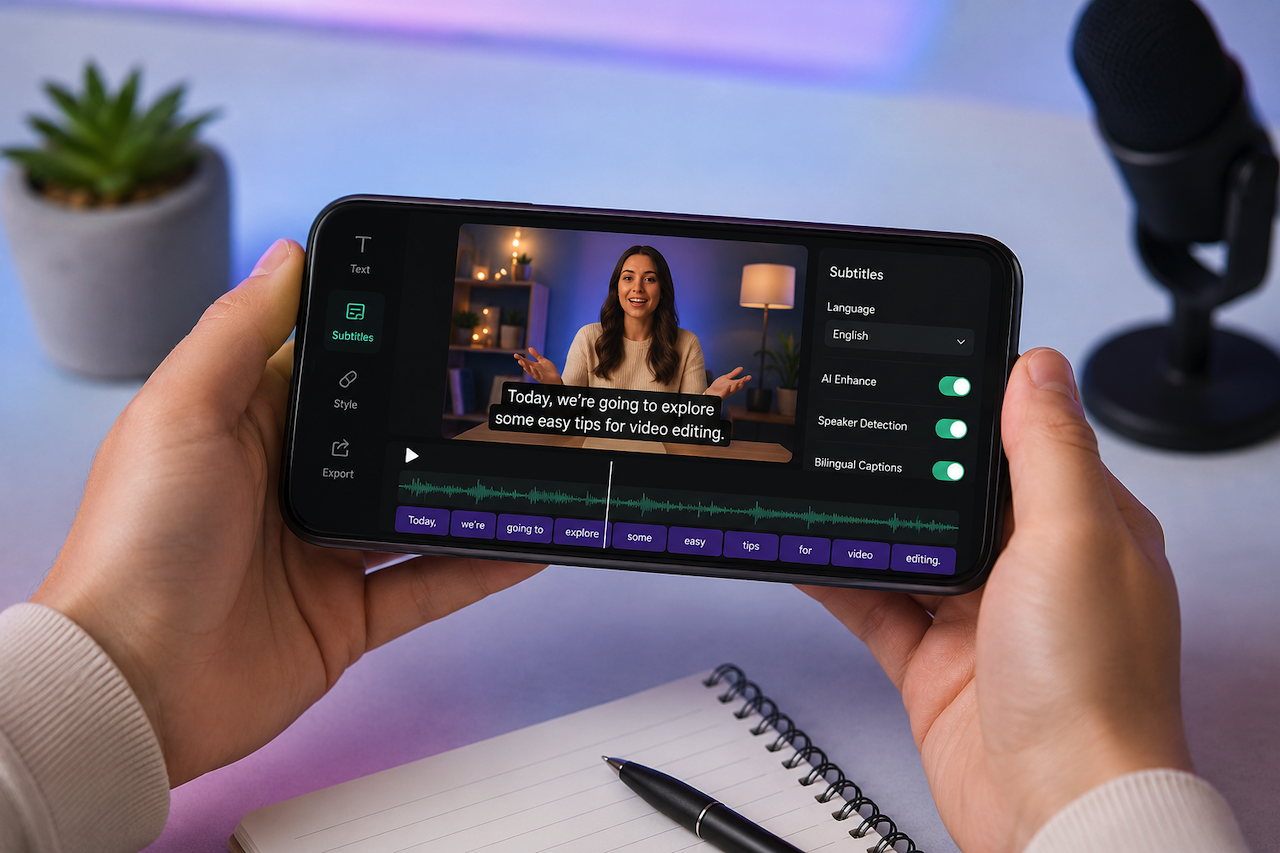
Creating video auto captions is no longer limited to desktop devices or professional editing software. AI-powered mobile applications have transformed video transcription by offering built-in subtitle generators directly on smartphones. Users can now caption social media clips, tutorials, interviews, and short-fo [...]
Learn moreLeave a comment
All comments are moderated. Spammy and bot submitted comments are deleted. Please submit the comments that are helpful to others, and we'll approve your comments. A comment that includes outbound link will only be approved if the content is relevant to the topic, and has some value to our readers.
Comments (0)
No comment