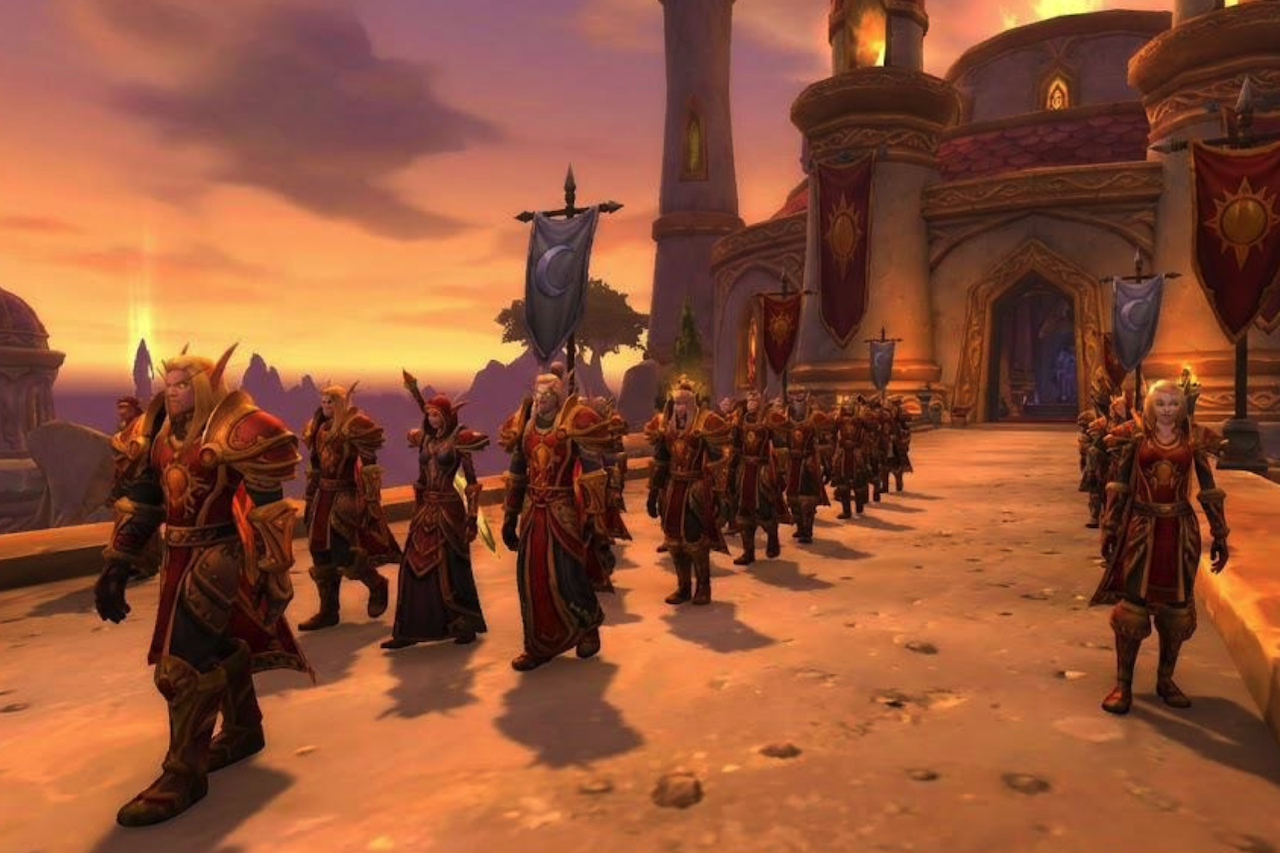
You arrive at the Isle of Quel'Danas, where the game welcomes you with golden architecture, aggressive demons, and a clear invitation to join the final offensive. The March of Quel'Danas storyline follows the Shattered Sun Offensive as they push toward reclaiming the Sunwell, culminating in Sunwell Plateau, a 25-player raid designed as the final challenge of The Burning Crusade era.
What “March of Quel'Danas” Really Is
The island was introduced in Patch 2.4, bringing a new quest hub, daily quests, a 5-player dungeon, and a 25-player raid. It also created a shared progression experience where players unlocked parts of the island over time.
The “march” refers to the ongoing war-zone atmosphere. Players complete daily quests, farm reputation, and gradually move the story forward toward the Sunwell and its final confrontation.
Sunwell Plateau Quick Facts
Sunwell Plateau is located on the Isle of Quel'Danas in the Eastern Kingdoms and is designed for level 70 characters in World of Warcraft.
The raid contains six bosses in a linear progression, meaning groups must defeat each encounter in order before reaching Kil'jaeden.
- Raid Size: 25 players
- Boss Count: 6
- Location: Isle of Quel'Danas, Eastern Kingdoms
Getting Inside Without Losing Your Mind
Players reach the island through the portal or flight path and travel from Sun's Reach toward the southwest road to find the raid entrance.
Bring consumables, repair gold, and patience. Trash packs hit hard, and wipes often mean a long run back.
Prep Checklist
- Tanks: Plan taunt swaps and defensive cooldown rotations
- Healers: Assign groups and dispel responsibilities
- Damage Dealers: Manage threat and save defensives for key moments
- Raid Leaders: Define assignments and reset rules
Raid Roles That Keep Pulls Calm
Sunwell Plateau demands strong role discipline. Mistakes stack quickly, and a single failure can wipe the raid. Tanks must communicate swaps, healers need structured coverage, and damage dealers should focus on uptime while avoiding unnecessary movement.
Role Focus
- Tanks: One main tank coordinates swaps, while an off-tank handles adds
- Healers: Split responsibilities and keep dispels organized
- Damage Dealers: Maintain threat awareness and time burst windows
- Utility: Interrupts, decurses, and support abilities stay assigned
A simple voice communication plan makes a major difference. One person calls movement, another tracks cooldown timing, and the raid leader manages overall flow. Clear structure turns chaotic pulls into repeatable progress.
Boss Overview
Before diving into detailed strategies, here is a quick summary of each encounter and the main mechanics that commonly cause wipes.
| Boss | Main Challenge | Key Focus |
|---|---|---|
| Kalecgos | Portal coordination and dispels | Stable rotations and realm balance |
| Brutallus | High damage and healing pressure | Cooldown planning and burn healing |
| Felmyst | Positioning and movement | Breath spacing and early movement |
| Eredar Twins | Debuff management | Target separation and timing |
| M'uru | Add control and phase transitions | Interrupts and cooldown saving |
| Kil'jaeden | Overlapping mechanics | Clear assignments and calm movement |
What Usually Wipes Raids
Most wipes happen due to panic, poor positioning, or missed assignments. The simplest approach is clear planning, consistent communication, and disciplined movement.
- Kalecgos: Portal confusion and missed dispels
- Brutallus: High damage and healing pressure
- Felmyst: Poor positioning during breath and fog
- Eredar Twins: Debuff mismanagement and burst damage
- M'uru: Add control failures and healer overload
- Kil'jaeden: Overlapping mechanics and panic reactions
Kalecgos
This encounter is split between a physical and spectral realm. Groups must maintain balance, sending players through portals while managing both sides.
- Keep portal rotation consistent
- Assign decurses clearly
- Time tank swaps carefully
Brutallus
This fight is a pure damage and healing check. It punishes slow reactions and weak coordination.
- Prioritize healing burn targets
- Swap tanks on schedule
- Use personal defensives early
Felmyst
Positioning and movement determine success. Players must avoid breath attacks and execute fog movement with discipline.
- Maintain wide spacing
- Start movement early
- Keep cleanse roles consistent
Eredar Twins
The twins apply heavy raid pressure through debuffs and burst damage. Strong coordination and target control simplify the fight.
- Separate targets
- Manage debuff spacing
- Rotate cooldowns
M'uru
This encounter focuses on add control before transitioning into a high-damage dark phase.
- Assign add lanes
- Maintain interrupt order
- Save cooldowns for later phases
Kil'jaeden
The final boss tests endurance and coordination with overlapping mechanics and long phases.
- Keep orb assignments clear
- Maintain calm positioning
- Save burst damage for shield phases
Loot Goals That Make the Effort Worth It
Sunwell Plateau is known for powerful endgame weapons and trinkets. These items push character performance to the next level and define the final tier of The Burning Crusade.
The raid also drops Sunmotes, which can be combined with certain gear to obtain alternate Tier 6 versions, often called Tier 6.5.
How a Clean Sunwell Run Usually Looks
Successful runs rely on structure, clear communication, and strong morale. Groups that stay organized progress faster and avoid burnout.
Run Steps
- Set roster and assign roles
- Clear trash with controlled pulls
- Progress through bosses in order
- Track loot and finalize the run
Some players also explore alternative progression paths, such as joining experienced groups or using WoW boost services to complete the raid when time or scheduling is limited. While not required, these options can help players focus on gearing, learning mechanics, or experiencing the final content without extended progression cycles.
Wrap-up
Sunwell Plateau is a beautiful place where your raid learns teamwork, patience, and humility—usually during the long run back after a wipe. Keep communication simple, respect mechanics, and the chaos eventually turns into a checklist that ends with Kil'jaeden defeated.
Disclaimer
This article is intended for informational and educational purposes only. All game-related content, including characters, locations, and gameplay mechanics, belongs to their respective owners. World of Warcraft and related trademarks are the property of Blizzard Entertainment, Inc. This guide is not affiliated with, endorsed by, or sponsored by Blizzard Entertainment.
Strategies, recommendations, and gameplay tips presented here are based on general player experience and may vary depending on game version, server, group composition, and updates. Readers should use their own judgment and adapt approaches according to their specific situation.
References to third-party services, communities, or progression methods are provided solely for general awareness and do not constitute endorsement or promotion. Players should always review official game policies and community guidelines before engaging with external services.
iplocation.net is not responsible for the content, accuracy, availability, or practices of any external websites linked in this article. Users who access third-party platforms do so at their own discretion and risk.
Share this post
Leave a comment
All comments are moderated. Spammy and bot submitted comments are deleted. Please submit the comments that are helpful to others, and we'll approve your comments. A comment that includes outbound link will only be approved if the content is relevant to the topic, and has some value to our readers.
Comments (0)
No comment