
A balloon garland is a beautiful party decoration made from connected balloons. These balloons form a flowing design that can go along walls, around doors, or across ceilings. Unlike simple balloon bunches, garlands look more natural and flowing, like a flower garland but made with balloons.
Planning Your Garland
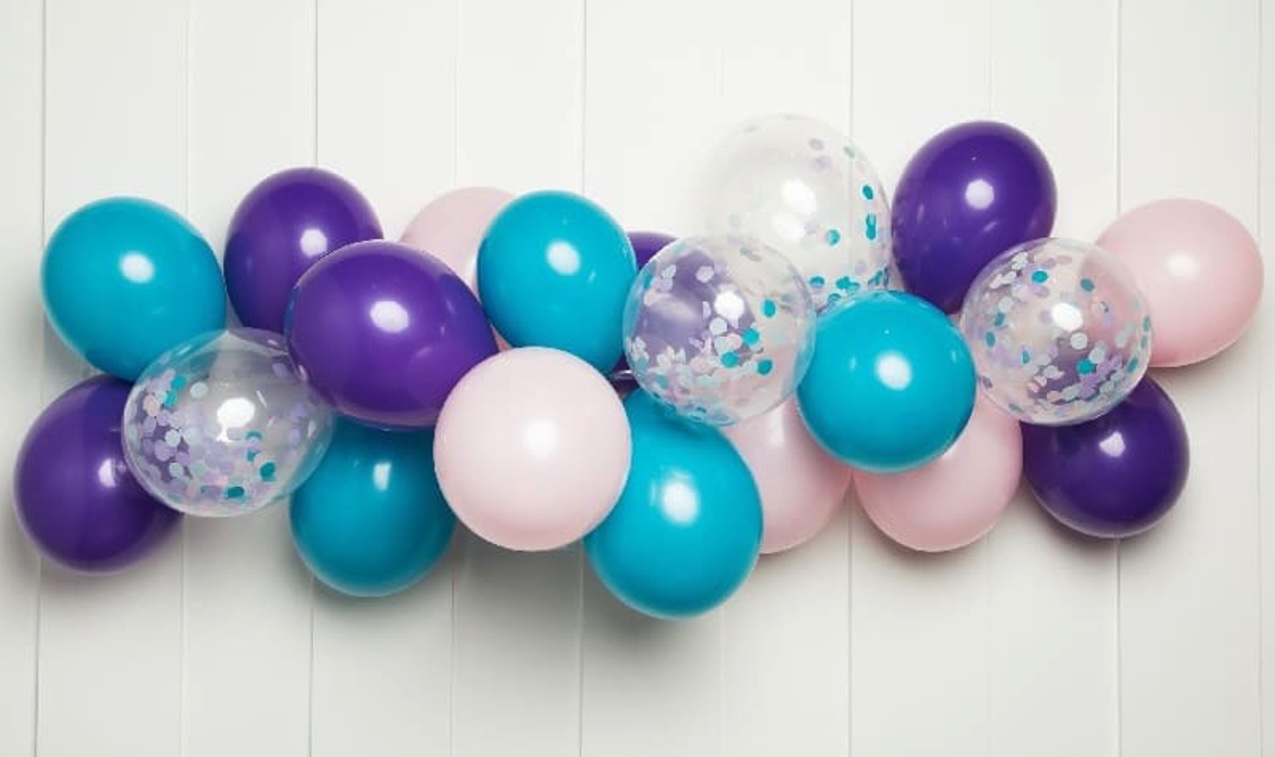
The most important first step is picking colors that match your event. For example:
- white, cream, and light pink for wedding;
- bright colors like blue and silver or pink and orange for birthday parties;
- soft blue, pink, or yellow for baby showers;
- colors that match the holiday
Choosing a color scheme
It's best to use 3-4 main colors to make the garland look neat and planned. Too many colors can look messy. For example, using light pink, medium pink, and dark pink creates a sophisticated design.
Calculating balloon quantities
To calculate balloon quantities, measure the intended space first. A basic formula helps determine needs: for every foot of garland, plan to use 10-12 balloons of varying sizes. For example, a 6-foot garland typically requires 60-72 balloons. It's wise to add 20% extra for mistakes or popped balloons during assembly.
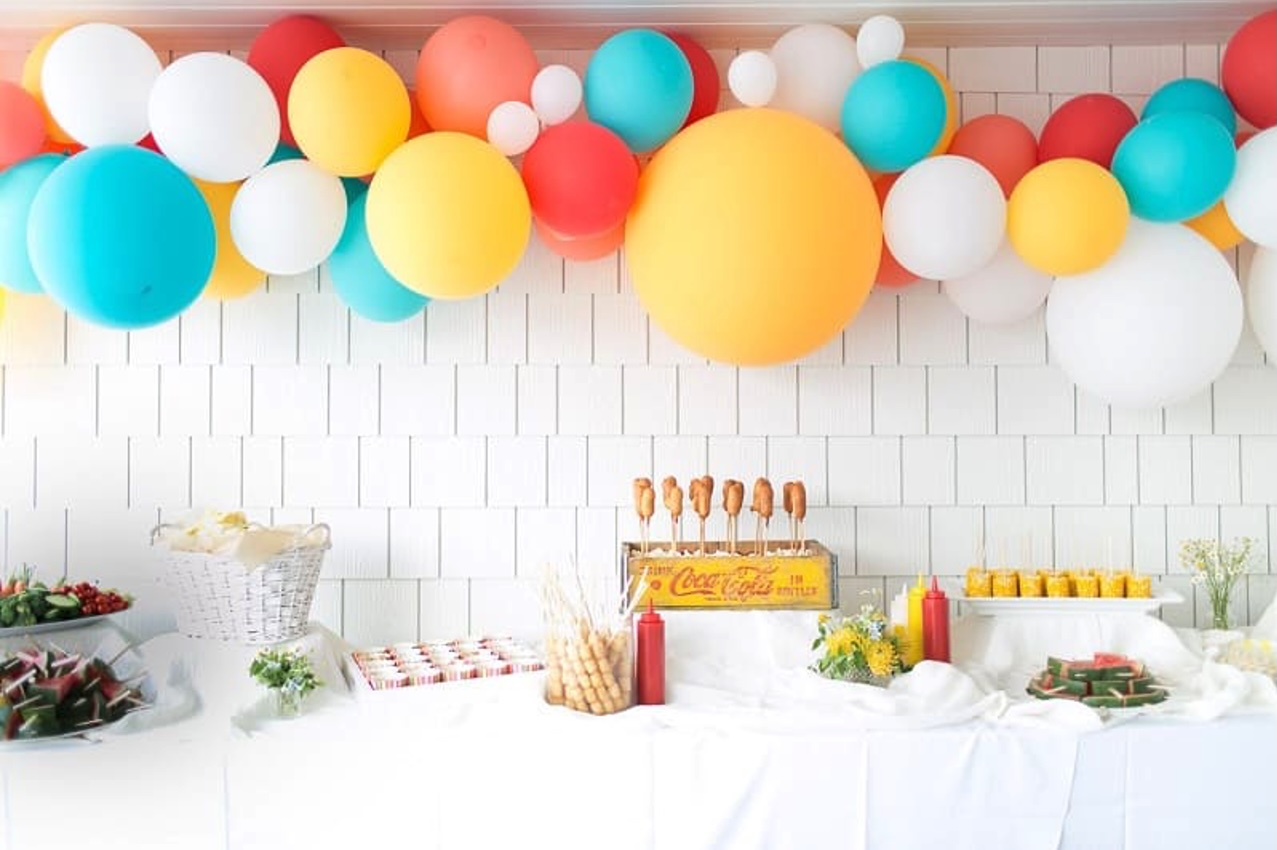
Deciding on size and placement
Size and placement decisions greatly impact the final look. Standard garlands work best when placed at eye level or higher, typically along walls, above tables, or framing doorways. For dramatic impact, consider diagonal designs that sweep upward or cascading effects that flow downward. The width of the garland should be proportional to the space - wider for large walls and narrower for intimate areas.
Design tips and patterns
Design patterns can range from simple to complex. Beginners should start with basic repeated patterns: large balloon, two medium balloons, small balloon, repeat. More advanced designs might include clusters of varying sizes, creating organic shapes or ombre effects where colors gradually transition. Popular patterns include the waterfall effect (balloons cascading downward), the snake pattern (a continuous S-curve), or the cloud effect (dense clusters with airy gaps).
Step-by-Step Instructions
Inflating the Balloons
Start by inflating balloons to different sizes using an electric balloon pump for speed and consistency. The key is not to inflate them to their maximum - they should be slightly under-inflated to achieve a soft, round shape. Larger balloons should be about 9-11 inches in diameter, medium ones 7-9 inches, and smaller ones 5-7 inches. Tie each balloon with a secure double knot. The balloons should feel firm but still have some give when gently squeezed.
Creating Balloon Clusters
Next up is creating the balloon clusters. Balloon clusters are essentially groups of 3 to 4 balloons tied or twisted together. Start by tying two balloons together at their ends. Then, take two more inflated balloons and tie them together. Now, twist the two pairs together to form a quad or a cluster. Use a variety of colors and sizes within each cluster for a vibrant and dynamic look.
Assembling the Garland
Start with a strong fishing line or balloon decorating strip as the base. Secure one end to a stable point where the garland will begin. Take the first balloon cluster and attach it to the line by wrapping the twisted knots around the string. Continue adding clusters, positioning them close together so no string is visible. Rotate each cluster slightly as it's added to create a natural, organic flow.
The final step involves gently manipulating the balloons to create a flowing, organic shape. Push some balloons forward and others back to add depth. Twist and turn clusters slightly to eliminate any rigid patterns. The finished garland should have a natural, almost cloud-like appearance with no visible structure underneath.
Pro Tips and Tricks
Work with Different Balloon Sizes
The secret to professional-looking balloon garlands lies in mastering size variations. Using 5-inch balloons helps fill awkward gaps and adds delicate detail to the overall design. Medium 9-inch balloons form the main structure, while 11-inch balloons create dramatic focal points. The magic happens when mixing these sizes strategically - placing larger balloons at key points draws the eye naturally across the garland. A helpful technique involves creating depth by positioning smaller balloons behind larger ones, creating a layered effect that makes the garland appear fuller and more luxurious.
Add Florals and Greenery
Faux flowers or leaves can be securely tied to the garland or attached using adhesive dots. Make sure to mix these elements throughout the garland in a balanced way, as it adds a touch of elegance and sophistication.
Create Organic Shapes
The most appealing balloon garlands avoid rigid, uniform patterns. To achieve an organic look, vary the density of balloon clusters throughout the design. Some sections should be fuller, while others can be more sparse. Gentle curves and asymmetrical arrangements look more natural than straight lines. Pushing some balloons slightly forward and others back creates dimension and movement. The goal is to mimic natural forms, like clouds or flowing water, rather than creating perfect symmetry.
Final thoughts
Creating balloon garlands brings magical transformation to any space, turning ordinary rooms into extraordinary celebrations. While the process requires attention to detail and patience, the stunning results make every effort worthwhile. These floating works of art have revolutionized modern party decoration, offering a perfect blend of elegance and whimsy that fits any occasion.
Share this post
Leave a comment
All comments are moderated. Spammy and bot submitted comments are deleted. Please submit the comments that are helpful to others, and we'll approve your comments. A comment that includes outbound link will only be approved if the content is relevant to the topic, and has some value to our readers.
Comments (0)
No comment