In your work and life, You may need to record our screen for various purposes. You may want to record PowerPoint presentations for your online courses, demonstrate your app, record your on-screen operations for troubleshooting, make a record of your working routine, or record a how-to video for your YouTube channel.
For all those tasks, screen recording is required. If you are a Mac user, you will find the basic screen recording functionality by macOS itself. Sometimes you may need some more advanced screen recording features to boost your efficiency.
We will dig into the topic and provide you 3 ways to screen record on Mac with audio. Let’s get started.
1. QuickTime Player
QuickTime Player is the built-in tool on your Mac to play, record, and edit your videos and audio. The recording feature offers you essential screen recording on Mac. You can record the microphone sound by default or the system sound with the help of a drive.
While you are able to record both system sound and microphone sound using QuickTime player. See below for how to screen record on a Mac with audio from your microphone.
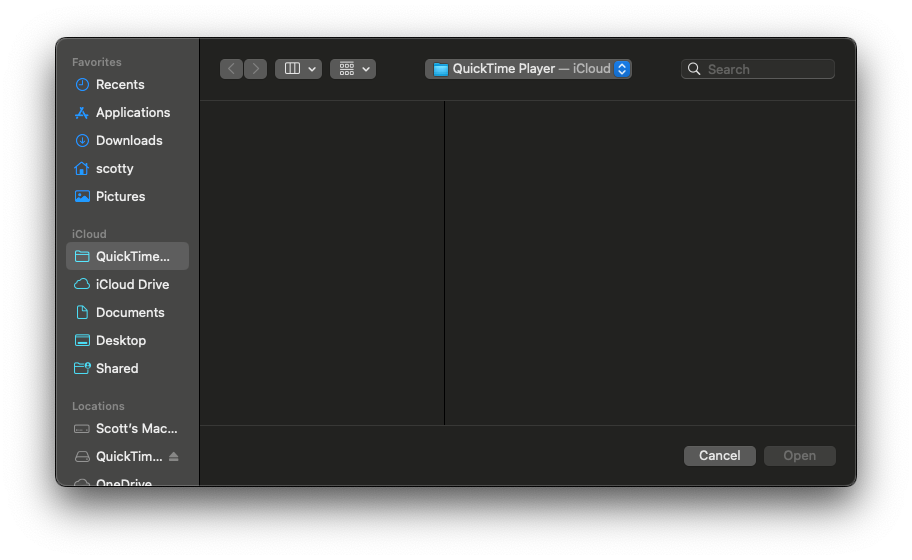
- Lunch Quicktime Player from your Launchpad on Mac.
- Click the recording icon at the top left to configure your recording settings. Here you can decide whether to enable the webcam and microphone.
- Click File - New Screen Recording. Click the Options on the recording bar to configure the recording settings.
- Then select Record Entire Screen or Record Selected Portion, and hit the Rec button to start the recording.
- To stop the recording, click the recording icon at the Menu bar or hit the Stop button on the Touch bar. Or use the shortcut Command + Control + Esc.
SurFlex Screen Recorder is a third-party Mac screen recorder that offers you comprehensive yet flexible screen recording functionality. With it, you can easily record the full screen, a selected part of the screen, or a specific window. For the audio part, SurFlex Screen Recorder offers you 4 options:
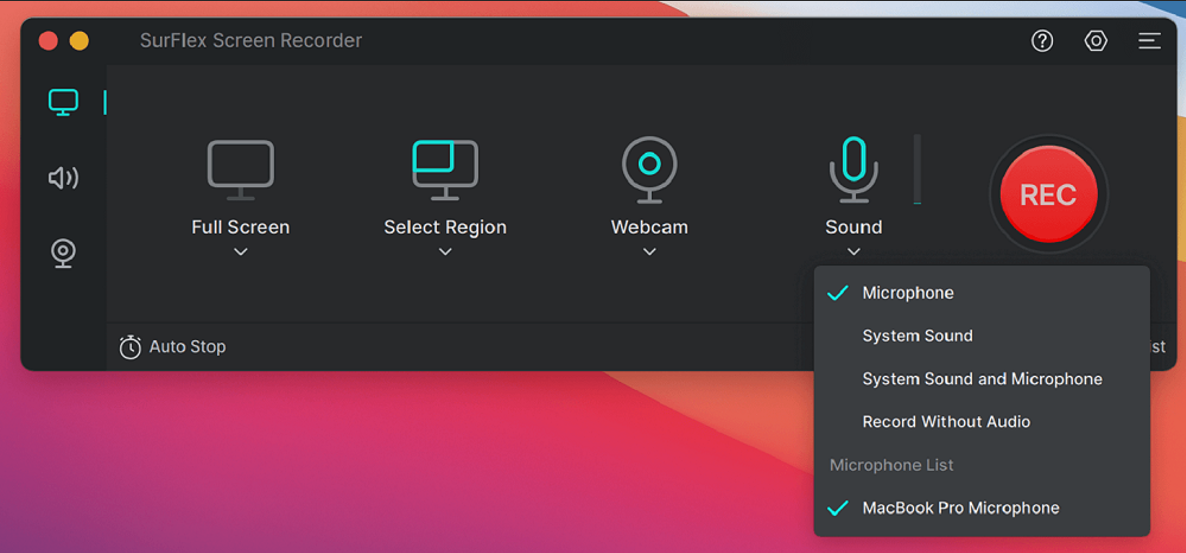
- Screen record on Mac with the system sound
- Screen record on Mac with the Microphone sound
- Screen record on Mac with system and Microphone sound
- Screen record on Mac without sound
This provides you full control over your screen recording. Besides, you can export the recording video in 4K definition and multiple video formats including MP4, WMV, AVI, MOV, and FLV. Now let’s see how to screen record on Mac with audio using SurFlex Screen Recorder.
- Install and launch SurFlex Screen Recorder on your Mac.
- In the main interface, you can set the recorded region and recorded sounds.
- Then hit Record button to capture your screen on Mac.
- After the recording is finished, click the stop button on the recording bar of SurFlex Screen Recorder.
3. OBS Studio
OBS Studio is a third-party open-source application that supports recording screen and audio on Mac. This is a powerful screen recorder for PC and Mac. The tool offers a set of useful features to help you record your screen. However, it is not friendly to beginners and asks for a steep learning curve. Now let’s show you how to use OBS Studio to screen record on Mac with audio.
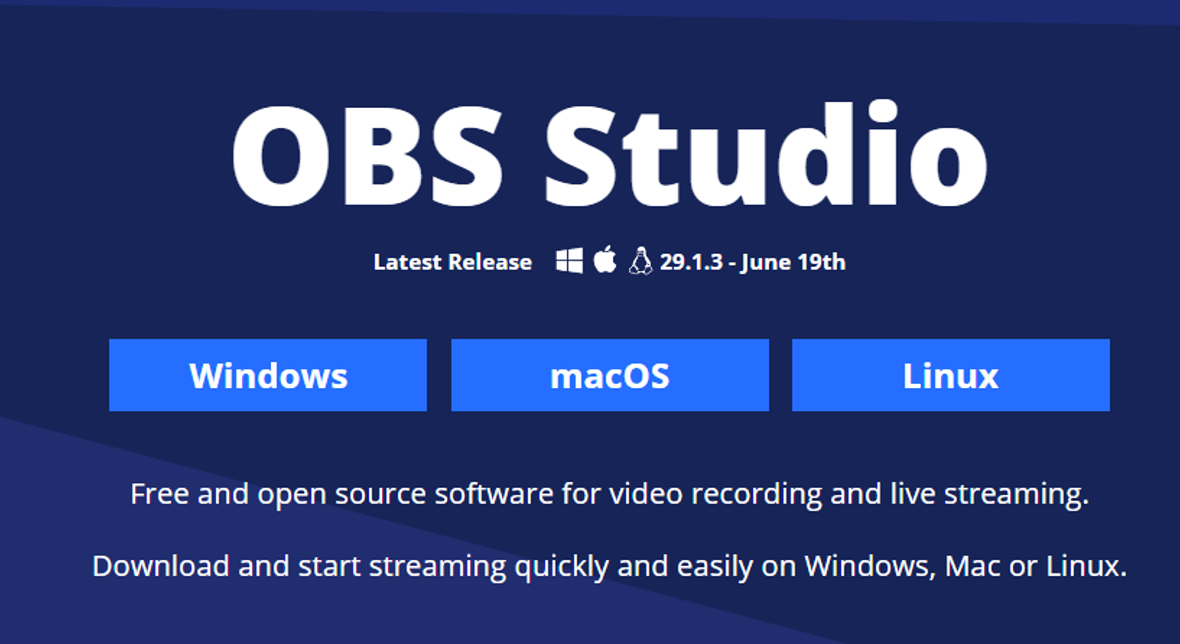
- Install OBS Studio on your Mac and start it.
- Clickc the “+” icon to get started. Then select Display Capture to open a window. Click OK and select your screen to record.
- Then go back to the main interface and configure the audio recording settings. You can adjust the volume of desktop audio and Mic to adjust the audio to record.
- Then click Start Recording to start recording your Mac screen.
- When you are finished, you can end the recording by clicking “Stop Recording.”
Conclusion
Now you get to know three different ways to screen record on Mac with audio. By default, QuickTime Player allows you to record the Microphone only. Thus if you want to record the sound from your Mac as well, then you need to try SurFlex Screen Recorder or OBS Studio.
Share this post
Author

Read the latest articles from Charlene Chen
How to Record Your Screen on PC for Free (3 Methods)

March 12, 2024
There is a growing demand to record screens on PCs in our daily life. You may want to demonstrate an operation by recording your operations on screen or create a how-to video tutorial to upload to YouTube and other video platforms. You may have no idea about how to record your screen on a PC when you need to capt [...]
Learn moreHow to Download YouTube Videos on Windows and Mac

August 17, 2023
YouTube serves as an essential platform for individuals who find enjoyment, learning, and motivation through videos. Nevertheless, occasional network failures can impede your access to content. Thus, having the capability to view YouTube material offline proves valuable. Downloading videos from YouTube onto your [...]
Learn moreLeave a comment
All comments are moderated. Spammy and bot submitted comments are deleted. Please submit the comments that are helpful to others, and we'll approve your comments. A comment that includes outbound link will only be approved if the content is relevant to the topic, and has some value to our readers.
Comments (0)
No comment