

Artificial Intelligence, Web Design, Web Development
How to Turn Ideas into Detailed AI Images
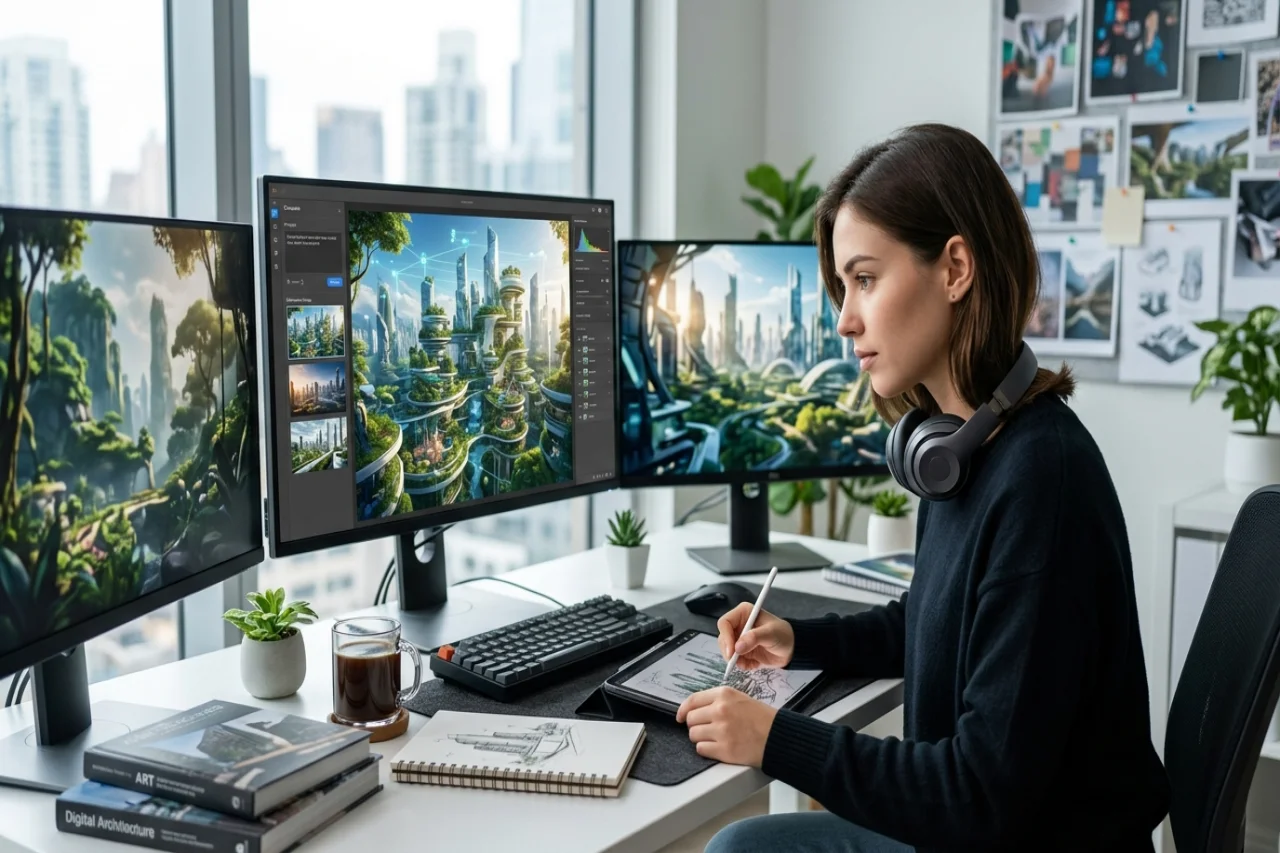
We’ve all been there — a vivid concept sitting in your head, but no way to actually get it onto a screen unless you can draw, hire a designer, or spend hours in editing software. That gap between “I have an idea” and “I have an image” used to be a major bottleneck in creative work. Today, an AI image generator can help turn a rough concept into a detailed visual without requiring traditional design skills.
Of course, not all AI tools handle nuance and detail the same way, and results can vary depending on the model, prompt, reference material, and settings used. Dreamina, including its Seedream 5.0 Pro model, is an example of an AI image-generation platform that can translate written concepts into visuals. Let’s walk through the general process of moving from an initial idea to a finished AI-generated image.
Why Turning Ideas Into Images Is Harder Than It Looks
An idea in your head feels complete, but the moment you try to describe it, you realize how many details you’ve been glossing over. What’s the lighting like? What angle is the shot from? What’s in the background? Skipping these details is one reason AI-generated images can come out feeling generic or “close, but not quite.” The real skill isn’t simply having a good idea; it’s learning how to translate that idea into language a model can actually work with.
Start With the Core Concept, Not the Details
Before you open an AI image generator, it helps to nail down the heart of your idea in one sentence. Ask yourself:
- What’s the main subject or focus of the image?
- What mood or emotion should it convey?
- Where is it set, and what’s happening in the scene?
Once you can answer these in a single sentence, you’ve got a solid foundation to build the finer details on top of.
Layer in Specifics to Add Depth
This is where a flat idea can become a more detailed image. Instead of “a scientist in a lab,” think about lighting, texture, and atmosphere:
- Lighting: Is it harsh fluorescent light, soft window light, or dramatic backlighting?
- Texture: Are there glossy surfaces, worn fabric, or glowing effects?
- Composition: Is it a close-up, wide shot, or view from above?
Stacking these layers gives an image-generation model more information to work with and can help produce results that more closely reflect the intended concept.
Using an AI Image Model for Detailed Prompts
Different AI image models provide different levels of prompt interpretation and editing control. Depending on the platform, features for generating and refining detailed images may include:
- Prompt Interpretation: Some models analyze prompts to identify subjects, visual relationships, and creative direction before generating an image.
- Regional Editing: Tools such as point selection, lasso, sketch guidance, and regional controls can be used to modify specific parts of an image after generation.
- Layer Controls: Some platforms allow subjects, backgrounds, and text to be separated into editable layers for additional adjustments.
- Multilingual Prompting: Certain models support prompts in multiple languages.
Capabilities vary between AI image-generation platforms, so it is worth comparing tools based on the type of image, level of control, and workflow you need.
A 3-Step Process From Idea to AI Image
The exact interface varies between platforms, but the general process involves writing a detailed prompt, selecting generation settings, and refining the resulting image.
Step 1: Write a Text Prompt and/or Add a Reference Image
Start by writing a detailed text prompt describing the subject and scenario related to your idea. If you have a reference image that captures the look, style, or setting you’re imagining, you can upload it as additional visual guidance.
A sample prompt might read:
A female scientist in a crisp white lab coat and protective goggles, examining a glowing blue test tube in a high-tech laboratory filled with holographic displays, dramatic side lighting, hyper-detailed textures, cinematic wide-angle shot.
Notice how the subject, setting, lighting, mood, and composition are all described rather than leaving those decisions entirely to the model.
Step 2: Adjust Parameters and Generate
Next, choose the available generation settings. Depending on the platform, these may include options such as aspect ratio, image size, resolution, and generation model. Lower resolutions may be useful for quicker drafts, while higher resolutions can provide additional detail.
Once the settings are configured, generate the image and review how closely the result matches the original concept.
Step 3: Customize and Export
After generating an image, editing tools can be used to refine specific elements. Depending on the platform, these may include inpainting to modify selected areas, expanding the canvas, removing unwanted elements, or retouching details.
Rather than accepting the initial output as final, review the image for composition, visual inconsistencies, unwanted artifacts, and details that do not match the original prompt. Once the image is complete, it can be exported in the available format and resolution.
Use Reference Images to Close the Gap
If words alone aren’t capturing your vision precisely, reference images can provide additional visual context. Uploading a photo, sketch, or mood board image gives the model something concrete to interpret alongside the written prompt, which can reduce ambiguity and help guide elements such as composition, color, or overall visual direction.
When using reference images, make sure you own the material or have permission to use it, particularly when creating images for commercial purposes.
Refine Through Iteration, Not Perfection on the First Try
Rarely does the very first generation match the idea in your head exactly. Treat each output as a draft:
- Tweak one or two details at a time rather than rewriting the whole prompt.
- Use editing tools to fix specific areas instead of automatically starting over.
- Save prompts that work well so you can reuse and adapt them later.
This iterative approach can also help you understand which descriptions and settings have the greatest effect on the final result.
Where Detailed AI Images Can Be Useful
Turning ideas into polished visuals can have a range of creative and commercial applications:
- Concept art and pre-visualization for creative projects
- Marketing visuals and product mockups
- Editorial and blog illustrations
- Social media content
- Early-stage design concepts and visual brainstorming
The appropriate tool and workflow will depend on factors such as required image quality, editing controls, licensing terms, privacy requirements, and intended use.
Final Thoughts
Bridging the gap between an idea and a finished visual has become more accessible with AI image-generation tools. However, getting detailed results still depends heavily on how clearly the concept is communicated and how carefully the resulting image is reviewed and refined.
The same general principles apply across many AI image generators. Start with the core concept, add specific information about lighting, composition, texture, and atmosphere, use references when appropriate, and refine the results through iteration. The tool provides the generation capabilities, while the user’s direction and judgment ultimately shape the finished image.
Comments
Comments are available to signed-in users and are moderated to keep the discussion useful and respectful. Spam, automated submissions, and low-value promotional comments are removed. Outbound links may be approved when they are relevant and genuinely helpful to readers, but they are displayed as plain text rather than clickable hyperlinks.
No comments have been published yet.
Please sign in to submit a comment.