

Computing, Software, Web Development
3D Text to Mesh Generation: A Step-by-Step Guide

Creating a 3D mesh from a textual description is no longer a novelty confined to research labs. From rapid prototyping of game assets to preparing printable toys, text-to-3D AI tools have made the long and involved process of 3D asset creation accessible to anyone with an internet connection. However, simply entering a prompt and waiting for a download is not enough to get a printable or game-ready asset — the user needs to understand the process, plan the prompt, know the tool’s limitations, and pick the right export format for their needs.
Overview
3D text to mesh generation refers to the process of creating a 3D polygon mesh given a textual description. AI takes a prompt, such as “a medieval chest with an ornate trim in gold low poly style,” and turns it into a digital asset with an option to texture it. While text-to-3D asset creation is not the same as traditional 3D modeling, it serves a similar purpose: getting a starting point for a project faster.
Various fields can benefit from text-to-3D mesh generators. For instance, game developers can prototype environment assets or characters, 3D artists can experiment with different styles, product designers can get a visual mockup, and even hobbyists can generate a 3D model to print. Let’s look at how to use such tools and what to consider when selecting a prompt, working with the generator, and exporting the file.
How to Generate a 3D Mesh from Text Prompt: Step-by-Step
These are the basic steps for creating a 3D mesh from a text prompt. For this example, we will use Meshy, but most other text-to-3D tools have a similar interface. Note that to generate a mesh in a browser, you can use Meshy after studying this guide; you will want to preview the asset in your 3D software of choice to ensure it meets your requirements.
The steps below are specific to Meshy but can be applied to other cloud-based 3D text-to-mesh tools with some modifications.
1. Pick a Generator and Sign Up
Most text-to-3D tools are browser-based and do not require any 3D software to be installed on your computer. If you are new to such tools, you can experiment with a free tier if the generator has one or subscribe to the cheapest plan if it does not. Meshy, for instance, has a free plan that gives a certain amount of credits per month:
2. Plan Your Prompt
Before actually designing your prompt, study this section to understand what details to include. In general, a good prompt has a subject, a style, and visual details: "a treasure chest (subject) made of old wood (visual details) in low poly style (style)." Additionally, you can specify particular details, such as a treasure chest with a skull-shaped lock and gold trim, or a pose for character generators like the T-pose.
3. Set the Preferences and Generate the Mesh
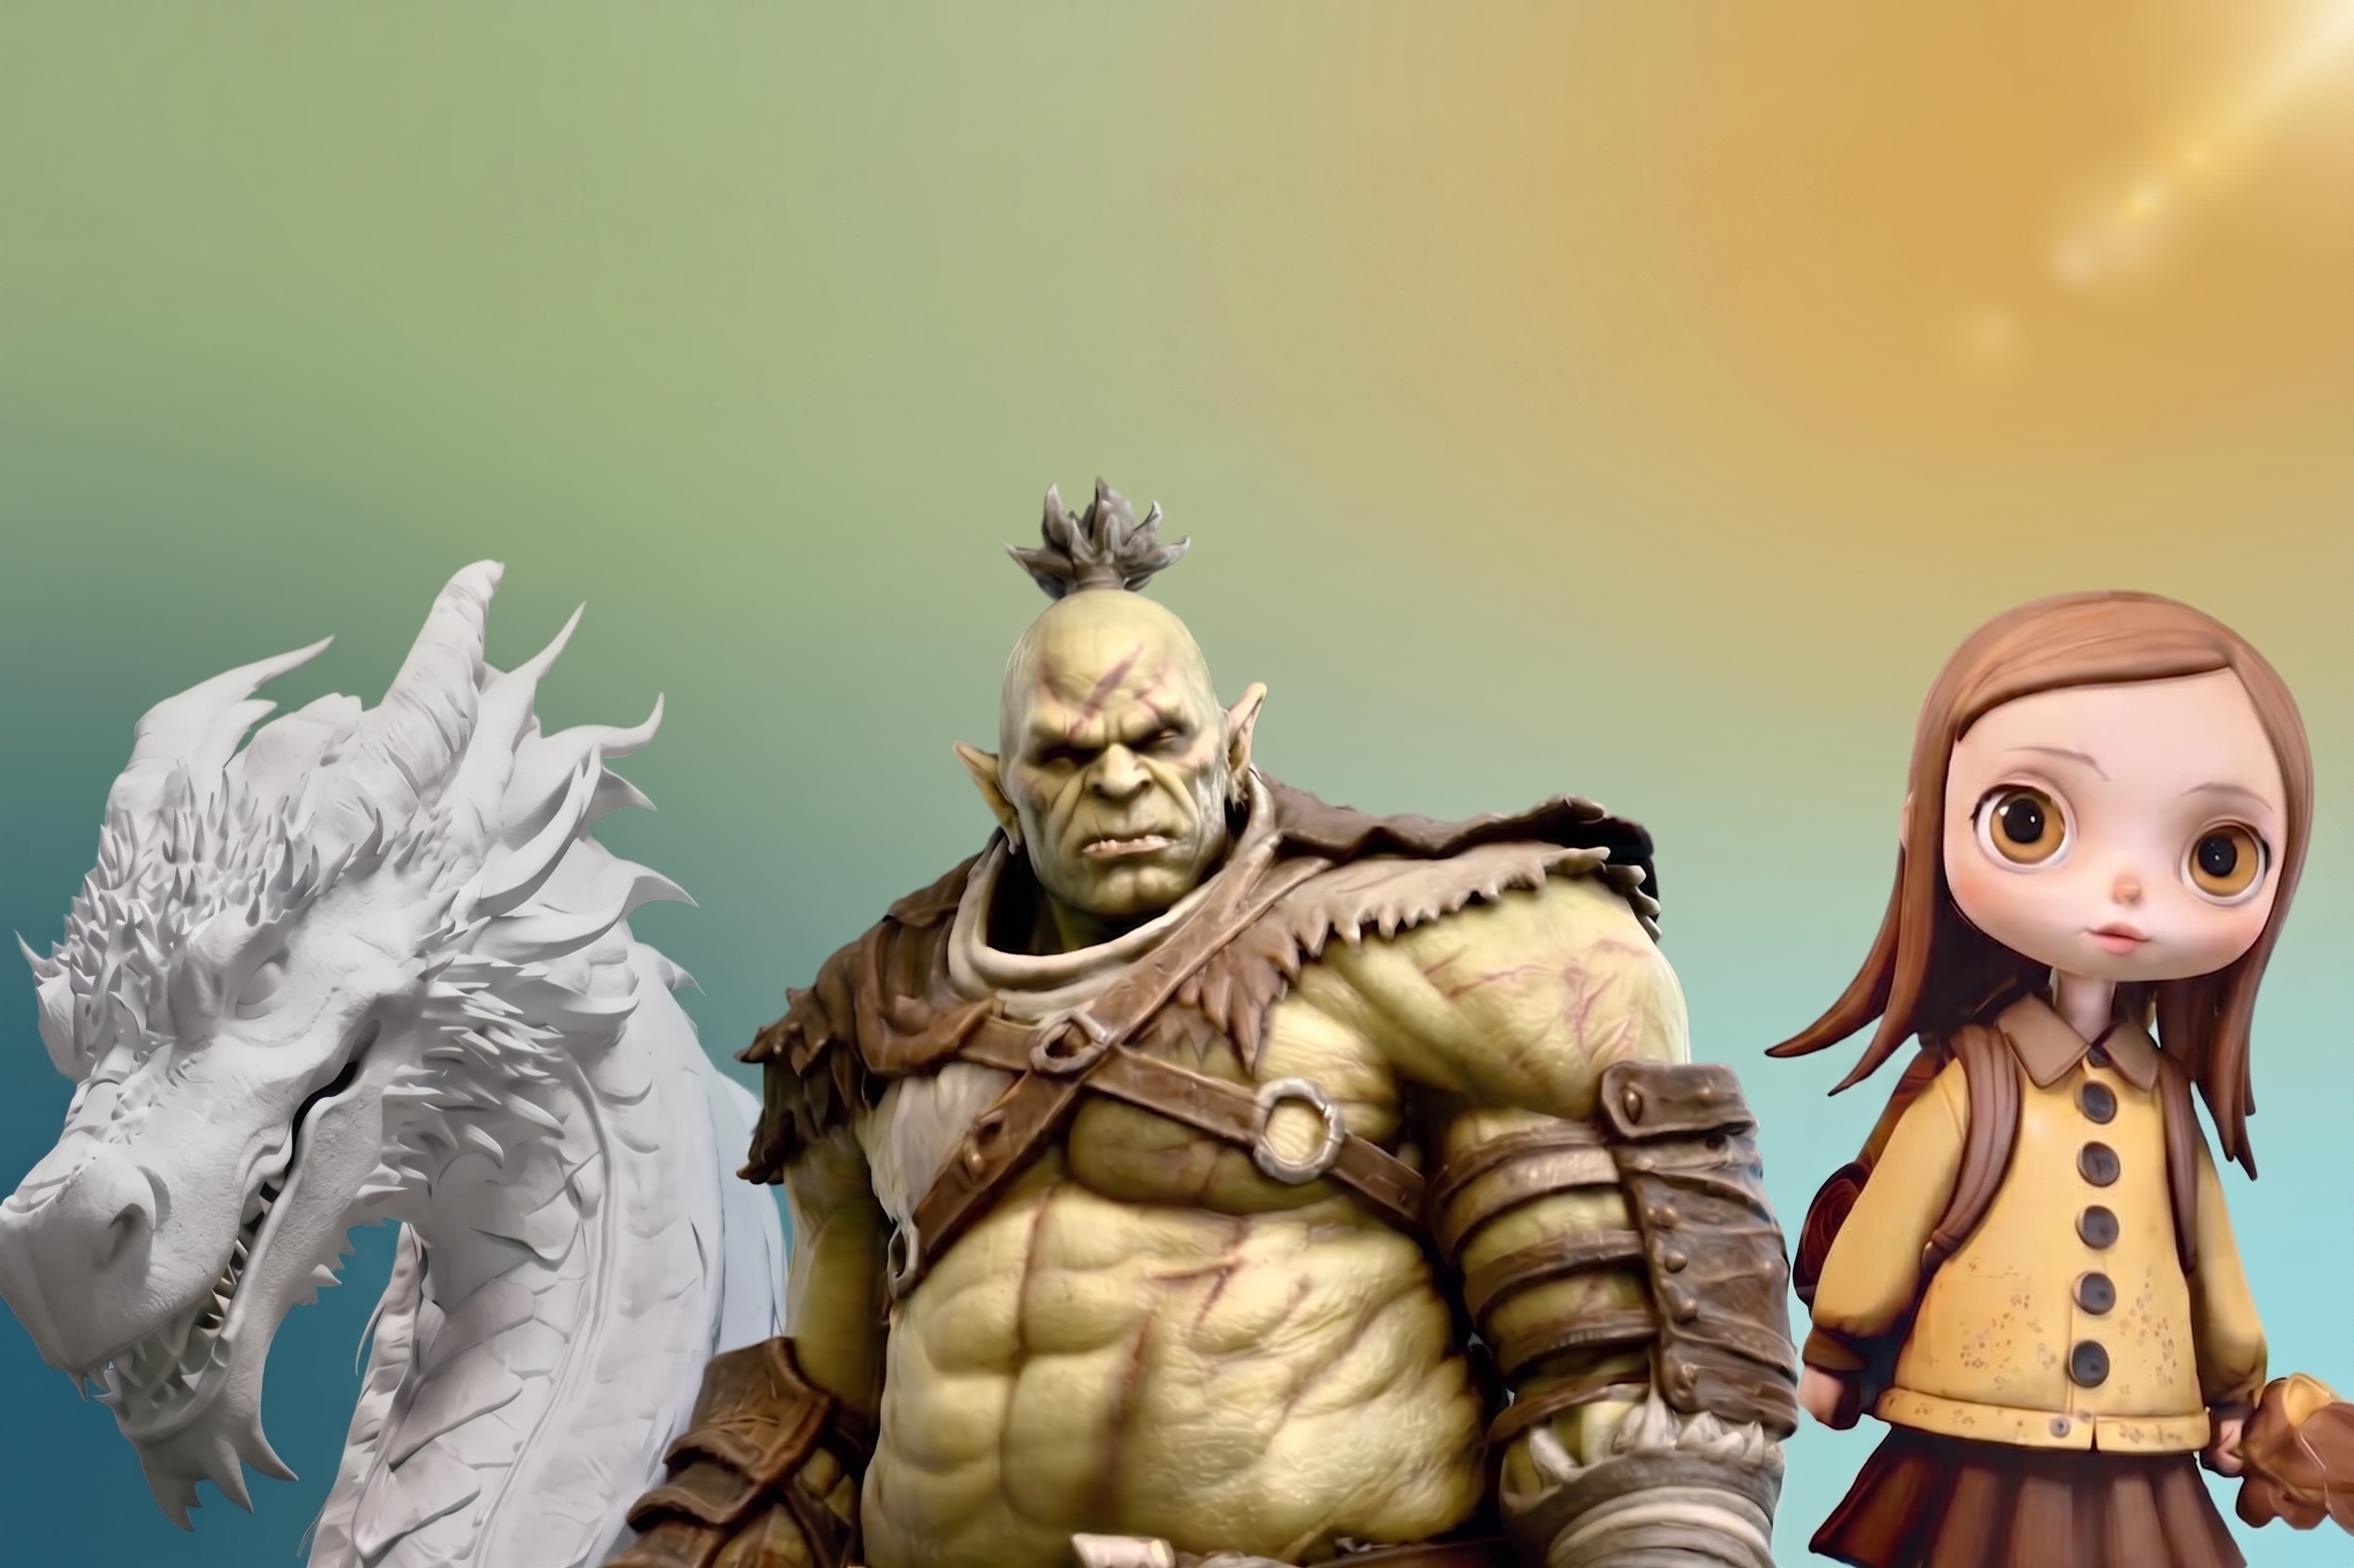
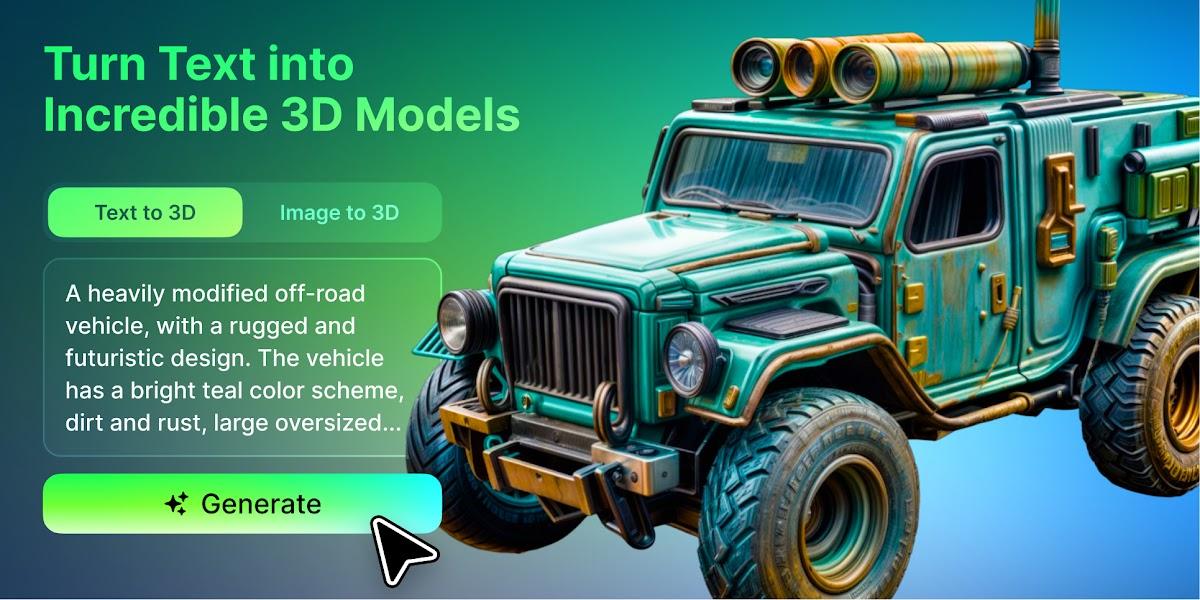
On the generator's interface, you will be able to pick the model, the style (low poly, standard, or whatever options are available), and how many variations you want to see at once. For character generators, you will pick the pose (e.g., A-pose, T-pose). For Meshy, here is what the interface looks like:
4. Study the Variations and Refine the Prompt if Necessary
Depending on the generator, you will either see one mesh preview or several variations you can scroll through. You can rotate the model to see it from different angles in the browser. Study the mesh to see if it meets your requirements. You may need to refine the prompt several times before getting a satisfactory result.
5. Post-process if Necessary
Depending on the generator, post-processing tools can range from repairing the mesh to auto-rigging a character. For instance, if you want to use the model in a game, you may want to decrease the polygon count to low poly. On the other hand, if you want to 3D print the asset, you will need a watertight mesh.
6. Export the Mesh
When you are satisfied with the result, you will be able to pick the export format. Common 3D file formats include FBX, GLB, OBJ, STL, USDZ, and others. Exporting the mesh in various formats lets you use it in different programs, such as Unity or Unreal Engine (game engines), Blender (3D software), or a 3D printer.
7. Validate the Mesh in Your Software
Before spending hours on the asset, you may want to import the mesh in the software where it will be used to see how it behaves. It will let you see if the textures are okay and the scale is correct.
Prompt Engineering for Better Results
To get the best result out of a text-to-3D generator, you need to write a good prompt. This section provides a general overview of what details to specify, what terms to avoid, and some general guidelines.
A good prompt typically has four elements:
- Subject: a simple description of the subject you want to generate, for instance, a treasure chest, a character, or something more specific, such as "a sci-fi helmet";
- Adjectives and additional descriptions: details that describe the subject or provide additional information, such as wooden, weathered, glowing, etc.;
- Style: what visual style you prefer, such as photorealistic, low poly, cartoonish, or cyberpunk;
- Additional context and details: extra information that provides more context and visual cues, such as gold trim, covered in moss, or have a specific pose.
Do’s:
- Start the prompt with the subject;
- Pick specific terms when possible (e.g., a treasure chest) rather than generic subjects;
- Add context to get the exact result you want;
- Specify the pose if it is a character generator (e.g., T-pose);
- Use the style presets if the generator has them (low poly, 3D printable, etc.);
- Experiment with different prompts and variations: changing the subject or style can yield significantly better results.
Don’ts:
- Avoid vague terms or complex descriptions the generator might not understand;
- Avoid asking to generate non-solid objects, such as smoke or glitter;
- Avoid overly long prompts or complex sentence structures;
- Avoid specifying unnecessary fine details, such as every strand of hair.
Iteration: Starting Simple and Building on Details
As mentioned above, it is best to start simple when designing a prompt and add more details with every iteration. For instance, “a treasure chest” can turn into “an old wooden treasure chest,” and then “an old wooden treasure chest with a skull-shaped lock and gold trim in low poly style.” Let’s look at how different prompts affect the result:
Iterative prompts can help you get a good result without spending too much time or money: start with a simple prompt and study the result. Add more details to get a better result in subsequent iterations. You can see how different variations affect the mesh below:
Challenges and Technical Limitations of Text-to-3D Mesh Generators
Text-to-3D mesh generators face several technical challenges that can affect the final result. Understanding them can help you avoid frustration and use the tools more efficiently.
One of the biggest challenges for text-to-3D tools is data: training such models is difficult when there is limited supervision for the training examples. It is estimated that text-to-3D training data is several orders of magnitude smaller than text-to-image, reaching up to 10 million examples for 3D reconstruction rather than billions for images. This limitation is why early reconstruction methods failed to generalize beyond the training set.
Various topological problems can also occur during mesh generation, ranging from a mix of triangles and quads to Janus, a problem where the mesh has more than one face (e.g., a character has two fronts instead of one). Another common problem is topology: the mesh has too many faces per edge, making it unwieldy. Janus and topology issues typically arise because a generator does not fully understand the 3D space.
Several text-to-3D generators had the problem of over-saturation, where their output looked too cartoonish. Fortunately, this issue has been resolved in newer models by introducing a more advanced loss function. Lastly, generating a 3D mesh for printing is not the same as for games: the former requires a watertight mesh.
Some tools address this issue by using mesh repair algorithms or generating watertight geometry by default, while others let you decimate the mesh to get rid of extra faces and edges. Tools designed for game development often have Smart Topology or similar options to get the necessary polycount for a character or an environment.
The most important thing to remember is that most issues can be resolved in post-processing. The text-to-3D tools often have built-in repair tools or let you use external software to fix problems such as non-manifold edges or holes. Additionally, some generators have specific modes, such as a 3D printing option, which makes the mesh watertight by default.
Export File Formats and Software Compatibility
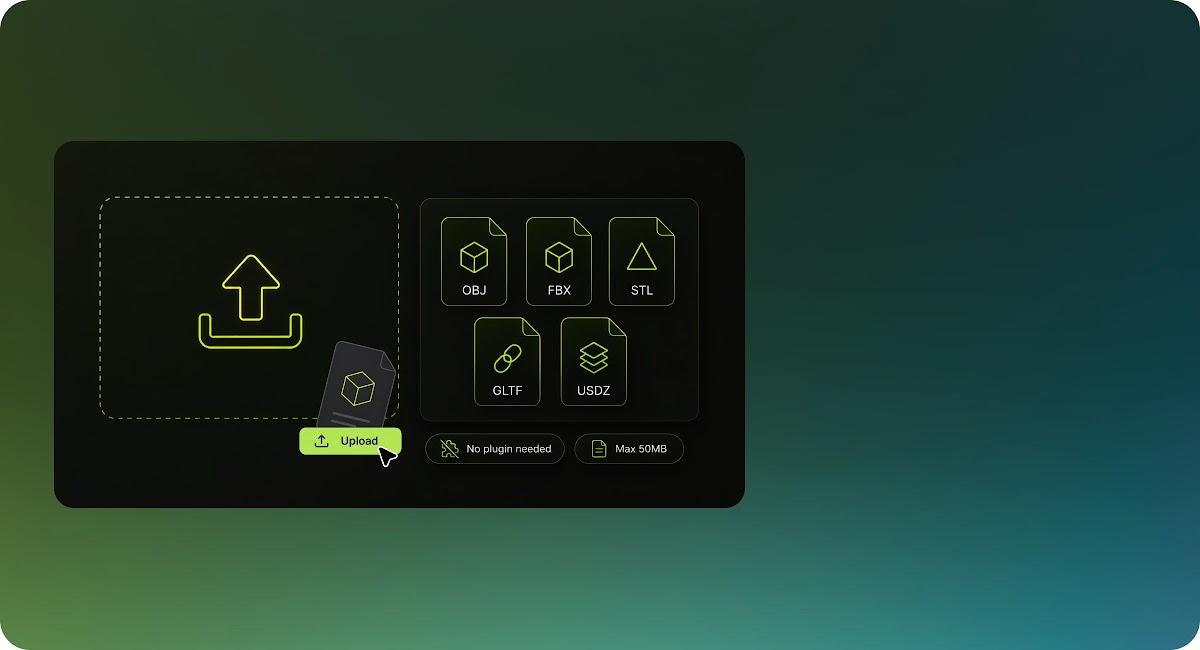
It is essential to export the 3D mesh in a suitable format to use it in other programs. While most text-to-3D tools allow exporting in multiple formats, some are better suited for specific tasks. Below are the most common 3D file formats, their strengths and weaknesses, and what software can use them:
| Format | Use Case | Strengths | Limitations |
|---|---|---|---|
| GLB/glTF | Web, AR, live previews (Three.js, Babylon.js) | Compact, fast to load, supports PBR textures | Less suited for offline DCC workflows |
| FBX | Game engines, animation, character rigs | Industry standard, embeds rig and animation; used between Maya/3ds Max, Unity, Unreal | Proprietary; version compatibility issues |
| OBJ | Static geometry exchange | Simple, universally supported | No animation, texture via MTL |
| STL | 3D printing | Most widely supported by slicers | No colors, materials, or scale data |
| USDZ | Apple AR Quick Look | Optimized for Apple AR | Niche ecosystem |
| 3MF | 3D printing | Supports color and materials | Less universal than STL |
Software considerations:
- Unity: supports importing GLB, FBX, and OBJ files; FBX is generally the better choice for animated objects or rigs;
- Blender: supports a wide range of formats, including GLB and FBX;
- Unreal Engine: works best with FBX and glTF;
- Web: use GLB for web-based real-time applications;
- 3D printing: use STL or 3MF file formats; some tools, such as Meshy , have an option to make the mesh watertight or low poly for 3D printing.
Costs and Free Trials for AI Text-to-3D Tools
Most text-to-3D tools have a free plan or a limited set of free credits you can use before upgrading to a paid subscription. Below are some general costs and considerations when choosing a text-to-3D generator:
Free plans: Most generators have a free plan or a limited set of free credits, such as Meshy’s 100 credits per month on the free plan.
Credits: Depending on the tool, you may need to purchase credits to continue using the service after the free tier. Credit use varies by task type and complexity, and specialized operations may consume credits differently. Check the current pricing page for up-to-date task costs before planning a large batch.
Subscriptions: Many text-to-3D tools have a paid subscription system, typically with a discount for higher-tier plans. Meshy , for instance, has several paid plans, with prices varying depending on the number of credits and the complexity of the project. Note that the more assets you intend to create, the more you will pay on average per file.
Overall, your costs depend on your intended use: if you want to experiment, a free tier may be enough; if you have a heavy workload, a subscription is a better value. These are only rough guidelines, and you need to look into the pricing on a case-by-case basis for the tools you have shortlisted.
Conclusion: Pick the Right Generator and Leverage Its Strengths
AI text-to-3D tools have evolved to the point where it is possible to get a 3D asset that can be further edited or put to practical use relatively quickly. Based on the guide, here are the most important considerations when working with text-to-3D generators:
- Choose the right text-to-3D tool for your needs: Some generators are web-based and are easier to use if you are new to the software or want to experiment without a heavy 3D application;
- Design your prompt: Study what terms to use and what to avoid to get the best result on the first try and save time and money;
- Leverage the strengths of the chosen generator: Some tools can output a manifold mesh suitable for 3D printing while others are better at producing low-poly assets suitable for games;
- Always review the generated mesh before investing more time in it: Even if you got a satisfactory result on the first try, it is a good idea to check if the mesh has any issues;
- Export the asset in a suitable format for your needs: Different tasks require different file formats, from STL for 3D printing to FBX for game development.
By following these recommendations, you will be able to use text-to-3D generators to their fullest extent without wasting time on troubleshooting when a simple adjustment could have resolved the issue. Remember that it takes practice to master prompt engineering, so it is best to start with a simple prompt and gradually add more details. Now that you know how to generate a 3D mesh from text, it is time to experiment and see what these powerful and relatively easy-to-use tools can do. Create a free Meshy account, use the included credits to generate your first text-to-3D model, and iterate until the result fits your project.
Comments
Comments are available to signed-in users and are moderated to keep the discussion useful and respectful. Spam, automated submissions, and low-value promotional comments are removed. Outbound links may be approved when they are relevant and genuinely helpful to readers, but they are displayed as plain text rather than clickable hyperlinks.
No comments have been published yet.
Please sign in to submit a comment.