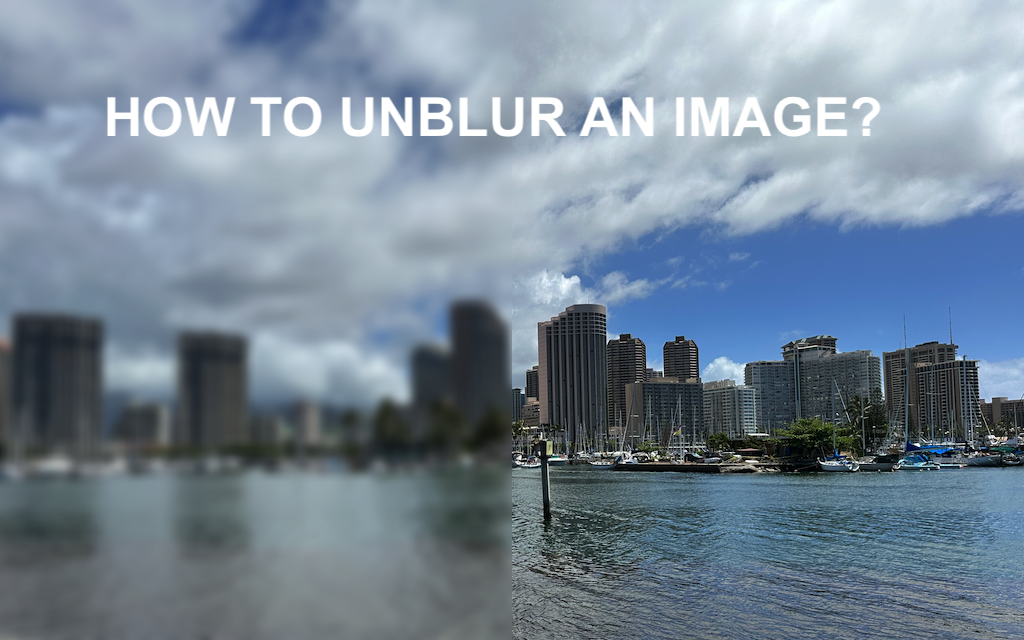
There is no doubt in the saying that the best pictures are the ones that are clicked instantly, or what you may call ‘candid’. Unfortunately, the risky part with these pictures is most of the time they are blurry with no sharpness and clarity. Learning about how to unblur an image is vital if you want to freeze these moments forever.
To restore the charm of the blink-and-you-will-miss-it shots, you need to know what are your mistakes that are making your pictures blurry and what are some of the quick and easy ways to unblur images.
How to Unblur Image in Simple Steps
Currently, many free AI-powered tools are available online that offer an easy way to unblur images in no time. The AI-powered image unblurring tool in Image Upscaler is a user-friendly tool that aids you in unblurring images for free without any watermarks in only a few seconds. Here’s how you can do it:
Step 1: Upload Your Blurred Image
'Add File of the blurred image. This tool supports many formats such as JPEG, PNG, JPG, WEBP, and BMP and sizes up to 300MB with dimensions 2000x2000. You will have 5 free counts to unblur your images without signing up.
Step 2: Start Processing
Once you have uploaded the image, click on 'Start Processing' and let Image Upscaler do its magic. It will only take 10-40 seconds, and your image will be unblurred, and all its lost charm will be back. The AI algorithms are trained to fill out the missing details to bring the lost charm and clarity of the picture back.
Moreover, this tool also gives you an option for 'Face Restoration. This option helps you in the enhancement of facial features, which is good for your portrait pictures. Or, if you are an e-commerce store owner and want a clear display of your products, you can use this tool to unblur your images.
Step 3: Download Image
After unblurring, Image Upscaler will preview the before and after images to give you an idea about the unblurred image. When you get the unblurred picture of your choice, download it from the option beneath the preview.
Taking Unblurred Pictures: What are Your Do’s
The head of the department has handed over a diploma degree to your child, but wait, what? You captured a blurred image because the subject was moving, and you missed the perfect clicking moment.
To that end, do not panic if the pictures are not clear. You might be making the following mistakes, thereby resulting in blurred pictures. Let us dig into some of the most common mistakes:
1. Use a Tripod Stand
You might be moving too much while clicking a picture, thereby making every picture blurry. Therefore, using a tripod stand will help you keep your camera still and will allow you to use slow shutter speeds, lower ISO settings, and narrower apertures.
With these settings, you can avoid blurry pictures. A sturdy, good tripod stand will do the job as it will lock your camera position exactly how you want it to be.
2. Movement During a Click!
One of the common mistakes people make while taking pictures is moving too much when clicking the picture. Even if you think it is a slight shift, it can result in a blurry image. Usually, this happens in old cameras that have slower shutter speeds. This issue is known as Motion Blur.
To avoid this problem, use the cameras at higher shutter speeds for the moving subjects. For example, if you are clicking a moving sportscar, you need to set a higher shutter speed, but if you are clicking a walking person, you can use relatively slower shutter speeds.
3. Keep Your Lenses Neat and Clean
There might be a chance of grime and dirt over your camera lens that can cause blurry images every time. Even if you think it is a minute speck of dust, it can lead to a blurry image. Usually, it is not clear when taking a picture, but when you are editing one, you’ll notice a blurry patch.
Thus, always check the rear and front elements of your camera lens to ensure they are clear and clean. Make a habit of cleaning the lens regularly with a gentle wipe from a lint-free cloth.
Taking Unblurred Pictures: What are Your Don’ts
Sometimes, minor mistakes lead to blurred pictures. Following are your don’ts to avoid blurred pictures:
1. Using Cheap Lens
A cheap or poor-quality lens is more likely to get scratched, which can lead to blurry pictures. They also lack the level of sharpness and clarity that you would expect from an expensive and high-quality lens. Thus, always ensure your lens is clear and provides the sharpness and clarity in the pictures you are looking for.
2. Filter
Since we have a lot of filters on various social media platforms that intrigue the users to try them, however, you should not take the initial pictures with the filter. Instead, take pictures with the normal camera lens and then add filters. This way, you will be able to get unblur images as filters make pictures blur.
3. Do Not Completely Rely on Auto-Focus
Auto-focus is meant to ease the focusing process while taking pictures. But sometimes, this option focuses on the wrong objects or struggles to focus on the right object. Use manual focusing when taking pictures so that you have control over the focus of your pictures.
Concluding Thoughts
You can always fix the blurred pictures, provided the blurriness in a picture is of a mild to moderate nature. It is so easy to use the image unblurring tool. With its easy-to-understand user interface, anybody can remove the blurriness from the images. It is a great tool for professional marketers and photographers to instantly remove blurriness and get a clear and sharp image.
Share this post
Leave a comment
All comments are moderated. Spammy and bot submitted comments are deleted. Please submit the comments that are helpful to others, and we'll approve your comments. A comment that includes outbound link will only be approved if the content is relevant to the topic, and has some value to our readers.
Comments (0)
No comment